How to write MLA format? For those who do not know about the MLA format, let’s take a look at it. The Modern Language Association or MLA for short is a writing style that has been in existence since the late 18th century. It has been widely used by educators and writers in the United States. This style of writing is used when citing sources in a paper or works cited page. In fact, there are essays all around the internet citing different papers using the MLA style.
This style is especially common when you are writing in the humanities. If you are writing a paper for a course, then make sure to check the instructions the professor or teacher has provided to see if MLA format is a requirement. If so, you will need to learn and follow the guidelines for using MLA format.
Table of Contents
Part 1 Creating a Cover Page
- Do not include a separate cover page unless specifically told to do so. According to standard MLA formatting rules, a cover page, or separate title page, is not necessary and should not be added to most papers.
- With that in mind, sometimes an instructor will ask students to create a cover page for an MLA style paper, especially for long papers. There are guidelines concerning the type of information that should be included in this event.
- Center your title. Your title should be centered and typed one-third of the way down from the top of the page.
- The title of your page should be informative yet creative.
- If you include a subtitle, type it on the same line as the title and separate the two with a colon after the title.
- The first letter of every major word should be capitalized. Do not capitalize minor words, like “the,” “and,” or “to,” unless they are the first word of the title or subtitle.
- Include your full name. In the middle of the page, still centered, you should type your name proceeded by the word “By.”
- Type “By” on one line, hit the “Enter” key on your keyboard, and type or full name on the following line.
- Your name should be in FirstName LastName format.
- Wrap things up with your class, instructor’s name, and due date. Two-thirds down from the top of the page, you should include this block of essential information about the assignment itself.
- Type the class and section number on one line.
- On the line immediately after, write the instructor’s name.
- On the final line, type the date your paper is due in Month Numerical Day, Numerical Year format.
Part 2 Following General MLA Format
- Create 1 in (2.5 cm) margins. The top, bottom, left, and right margins should each be 1 in (2.5 cm) wide.
- For most word processing programs, you can change the margins by heading into the “Page Layout” settings, usually located under a “File” menu. There should be a “Margins” heading in the dialog box. From there, change each margin to the appropriate size.
- Double-space your paper. From the first page on, your entire paper should be double-spaced. Note that you do not need to include any extra space at the end of a paragraph.
- For most word processing programs, you can change the spacing by going into the “Page Layout” settings, typically accessed from a “File” menu.” There should be a “Line Spacing” heading in the dialog box. Under that heading, select “2.0” spacing.
- Use 12-point font. The preferred font and size for MLA papers is 12-point Times New Roman.
- If you opt to use another font instead of Times New Roman, choose a font that is simple, easy to read, and not excessively large.
- Create a running header. A running header will appear on each page in the same spot. It should include your last name and the page number of each page, and should be positioned in the upper right corner of the page.
- Access the “Header and Footer” tool in your word processor, often found under the “View” menu. Type your last name and hit the page number icon in the options box to automatically insert the current page number on its corresponding page.
Part 3 Formatting the First Page
- Type your heading in the upper left corner. The heading essentially includes all the information a cover page would include when used. Type your full name, instructor’s name, course name, and due date in the upper left corner.Type your full name FirstName LastName on the first line.
- On the next line, type your instructor’s title and name.
- On the third line, type the the class course number.
- Include the date your assignment is due on the last line. It should be in Numerical Day Month Numerical Year format.
- Center your title. On the line immediately following the date, you should type your paper’s title. This title should be centered.
- Do not make the title larger, italicized, underlined, or bold printed.
- The title of your page should be informative yet creative.
- If you include a subtitle, type it on the same line as the title and separate the two with a colon after the title.
- The first letter of every major word should be capitalized. Do not capitalize minor words, like “the,” “and,” or “to,” unless they are the first word of the title or subtitle.
- Write the body of your paper. On the line immediately following the title, left-align your text and begin writing the introduction paragraph of your paper.
Part 4 Formatting the Body of the Paper
- Indent the first line of each paragraph. The first line of each paragraph must be indented by 0.5 in (1.3 cm).
- Indent the first line by hitting to “Tab” key on your keyboard.
- You do not need to separate paragraphs with extra line spacing. This indentation alone is enough to mark the start of a new paragraph.
- Separate the body of the paper into section headings when appropriate. If your paper is long, your instructor may request that you separate certain portions of it into various section headings.
- The recommendation for section headings under the MLA style is to number each section with an Arabic number and a period. Follow the period with a space before typing the section name.
- The first letter of each word in the section name should be capitalized.
- Section headings should usually be centered on the page and given their own separate lines.
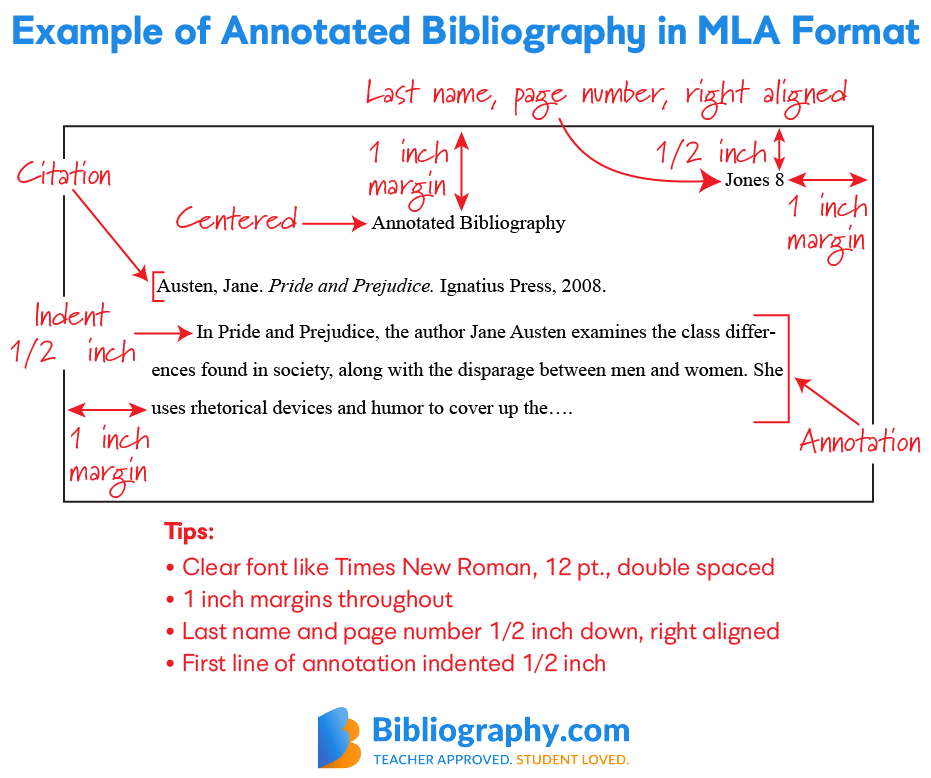
- Provide a figure number when including a picture or table. When you include a table or figure in your MLA paper, center the figure and provide a figure number, label, and source information.
- Use “Fig. 1,” “Fig. 2,” etc. for illustrations and photographs. Use “Table 1,” “Table 2,” etc. for tables and charts.
- Quickly label the figure with a descriptive term like “cartoon” or “statistical table.”
- Provide the creator’s name, the source the figure was published in, the date of publication, and the page number.
- All of the information should be included on a single line below the picture.
Part 5 Using In-Text Citations
- Include parenthetical citations for all borrowed material. Whenever you include a direct quote, paraphrase, or summary in your paper, you must cite the source of that material in parentheses after the material is presented.
- When the information is available, include the author’s last name and the page number from which the material came.
- If the materials came from an online source and no page number is available, you only need to include the author’s name.
- If no author’s name is available, include an abbreviated portion of the source material’s title.
- Note that if you introduce the author’s name earlier in the sentence, you do not need to include the name in the parentheses, as well.
- Format an “in-line” quotation. Most quotations will be “in-line,” meaning that no special formatting is required and they can be treated as normal text.
- Always include a quote as part of another sentence. Never write a “hanging quote,” a type of quotation in which only the quote is presented without any lead in. For example, introduce sentences with some kind of context, such as: Churchill argued for the importance of the initiative when he declared, “Britain must unite behind this measure” (Author 21).
- Commas and periods should follow the parenthetical citation, and the parentheses should fall outside of the ending quotation marks.
- Format a block quote. Quotes that are longer than three lines should be separated from the rest of the text in the form of a block quote.
- After you type the last word that comes before your quote, hit the “Enter” key to move to a new line.
- Each line of a block quote should be indented another 1/2 inch (1.25 cm) in.
- You do not need to include quotation marks for a block quote, but you still need to include a parenthetical citation.
Part 6 Formatting the Endnotes
- Center the “Notes” title. Do not italicize, bold, or underline this heading.
- If you inserted any notes into your document, the notes themselves should be included as endnotes that are listed on a separate page after the main body of the paper. Do not include them as footnotes, which are listed at the foot of each page as they appear.
- Number your endnotes. If you inserted your endnotes using an endnote tool on your word processor, the numbering should already be done for you.
- Otherwise, make sure that each endnote is preceded by an Arabic number that corresponds to a number places in the section of the paper’s body that relates to the information provided by the endnote.
- The first line of each endnote should be indented by 1/2 inch (1.25 cm).
- Include brief yet important information in your notes. Endnotes should be used to discuss information that does not coherently fit into the paragraph it relates to.
- Your endnotes should not exceed three or four lines in lengths. Avoid long discussions. Endnotes are not the right time to bring up entirely new points.
Part 7 Including an Appendix
- Center the “Appendix” heading. Do not italicize, bold, or underline the heading.
- If including multiple appendices, label each as “Appendix A,” “Appendix B,” and so on.
- Add related but unnecessary information. The information in an appendix should relate to the information in your paper, but it should not be crucial or essential to your argument.
- An appendix is a way to include related information without distracting from the main argument of your paper.
Part 8 Creating the Works Cited Page
- Center the “Works Cited” heading. Do not italicize, bold, or underline the heading.
- Your “Works Cited” page should include all the texts you directly referenced in the body of your paper.
- All papers written in MLA format must include a “Works Cited” page.
- Alphabetize your cited material. All of your citations should be listed in alphabetical order according to the authors’ last names.
- If a text does not have a known author, arrange that citation in alphabetical order according to the first word of the article or book title.
- Cite a book. The basic format for a book citation includes the author’s name, the title of the book, the publication information for that book, and the medium of publication.
- Write the author’s name in LastName, Firstname” format. Follow with a period.
- Italicize the book title and capitalize the first letter of each word. Follow with a period.
- Write the city of publication followed by a colon, and include the publisher’s name after that. Follow this with a comma and the year of publication. End with a period.
- Type the medium of publication, “Print” or “eBook,” at the end. Finish with a period.
- For example, your book citation should look like similar to this: Ash, Beth Sharon. Writing in between: Modernity and Psychosocial Dilemma in the Novels of Joseph Conrad. 1st ed. New York: St. Martin’s Press, 1999.
- Cite a journal article. A standard journal article includes the author’s name, title of the article, title of the journal, issue information, and medium of publication.
- Write the author’s name in LastName, Firstname format. Follow with a period.
- Include the title of the article in quotation marks and follow with a period. The first letter of each word should be capitalized.
- Italicize the title of the journal and follow with a period. The first letter of each word should be capitalized.
- Write the issue number, followed by the year of publication in parentheses. Put a colon after the year and include the page numbers after this. Follow with a period.
- Finish with the medium of publication and a final period.
- A finished journal article citation should look similar to this: Aiex, Nola Kortner. “Martins Pena: Parodist.” Luso-Brazilian Review 18.1 (1981): 155–160.
Conclusion
Mla format is widely used to manage works cited or bibliography in the field of arts especially for papers written by students. Usually, mla is also known as Modern Language Association, which is an academic association for facilitating teaching and research in modern foreign languages and literature in North America. This type of format is widely accepted and considered to be one of the easiest ways to write a paper.