How to Remove Header in Word – Normally, you can quickly remove all the headers and footers from a Word document just by double-clicking the header or footer field, and then remove them at once. But, if there are multiple various headers and footers in one document, how to remove all of them at once?
Table of Contents
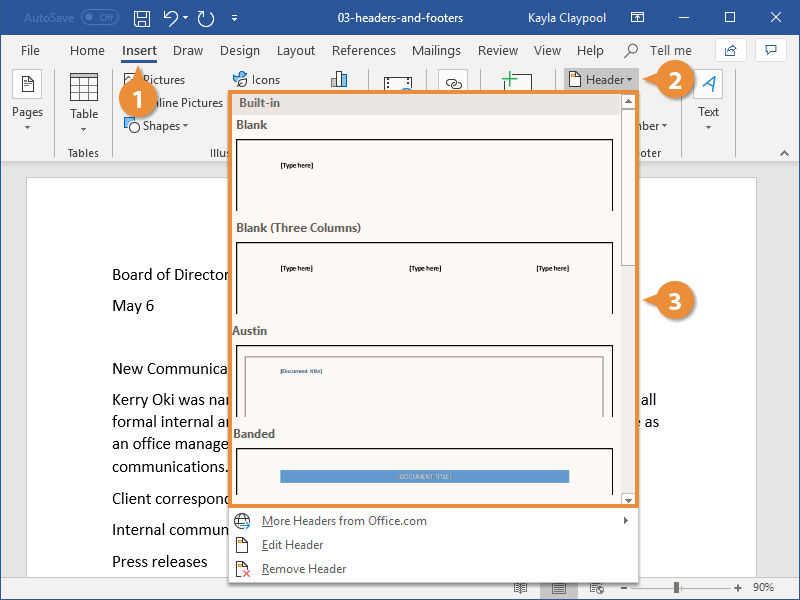
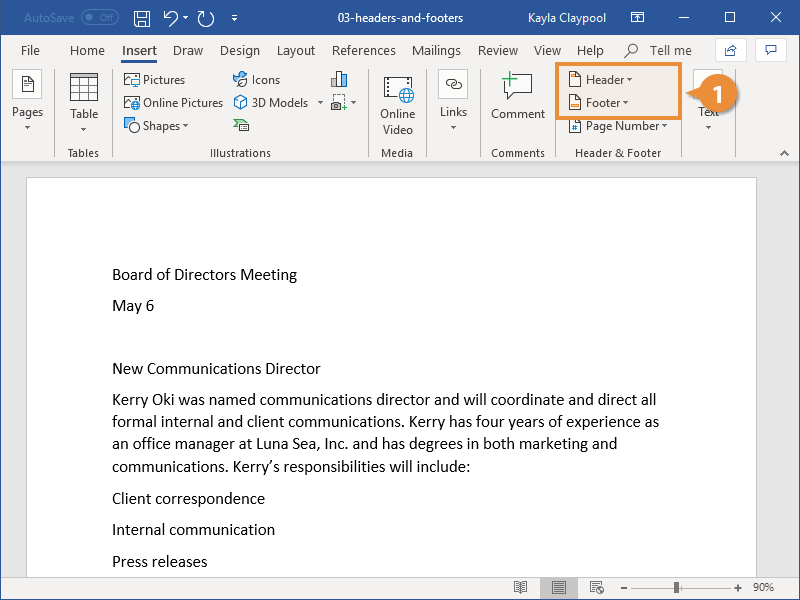
- Click the Insert tab.
- Click the Header or Footer button.
- Select a built-in header or footer design.
- Click the Close Header and Footer button when you’re done.
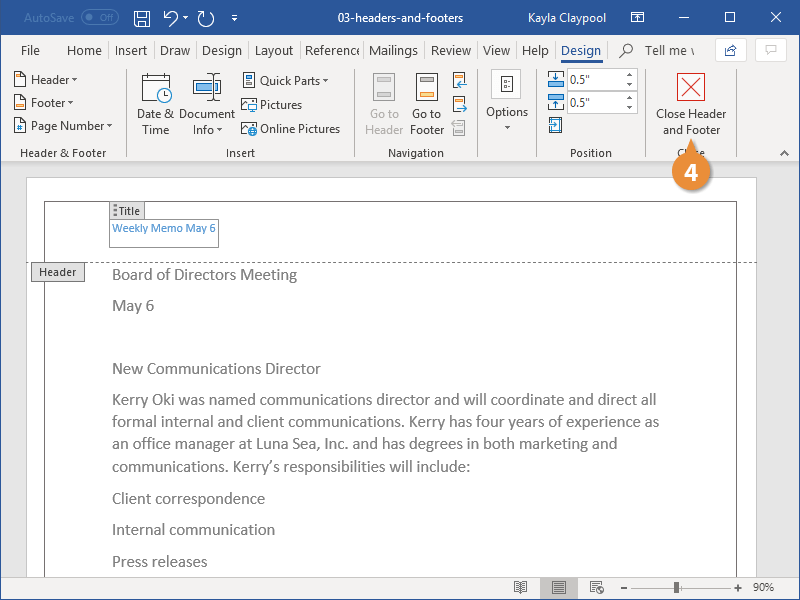
The Header and Footer Design tab closes, and the header and footer are set.
Once you’ve added a header or footer, you can easily remove it if you find that it isn’t what you want.
- Click the Header or Footer button on the Insert tab.
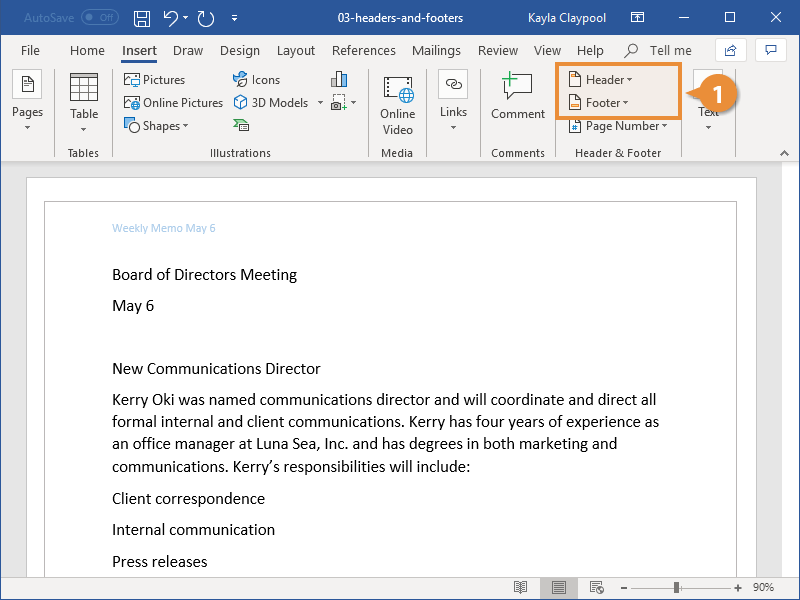
- Select Remove Header or Remove Footer.
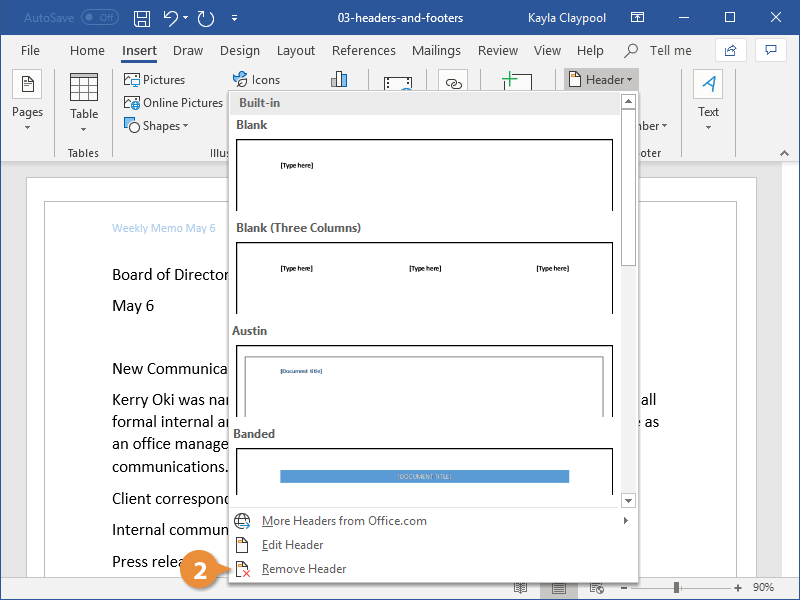
The header or footer is removed.
Once you’ve added a header or footer, you can use the Header and Footer Design tab to customize its appearance. Or, if you’d prefer to start from scratch, you can customize the header or footer without using one of the built-in presets.
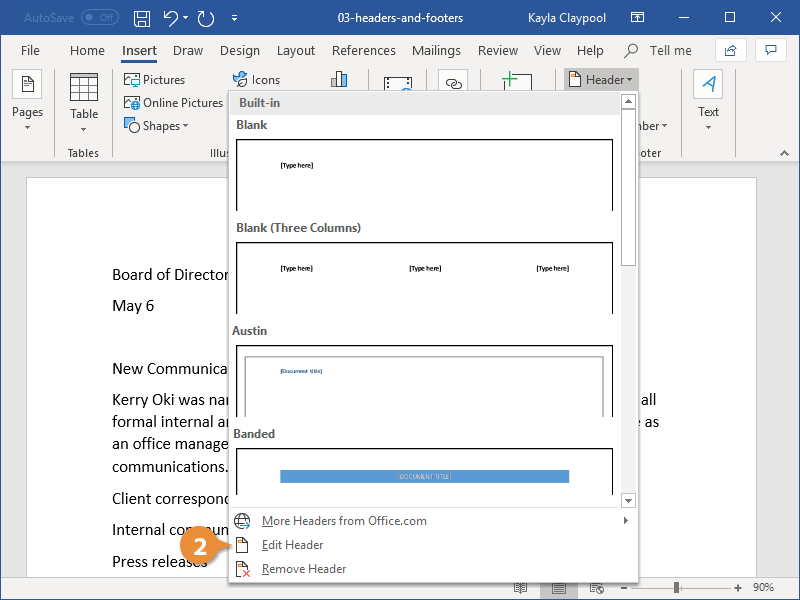
- Click the Header or Footer button on the Insert tab.
- Select Edit Header or Edit Footer.
- Make selections using the Header and Footer Design tab tools on the ribbon.
- Click Close Header and Footer when you’re done.
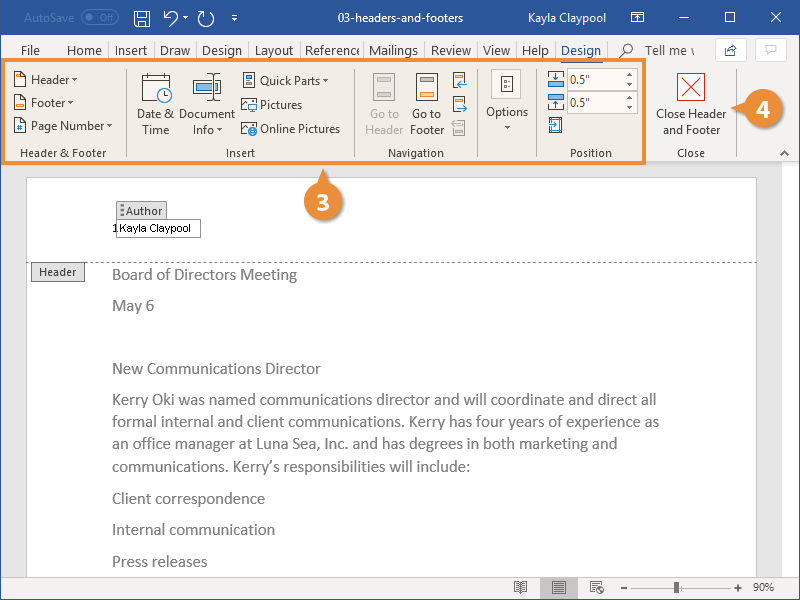
The custom header or footer is applied.
Very often, you won’t want your header or footer to show up on the first page of your document. Usually, that’s because it’s a title page. Here’s how to remove it.
Double click the header or footer area to make it active.

This also activates the Header & Footer Tools section on Word’s Ribbon. On the Design tab of that section, select the “Different First Page” check box.

This action removes the header and footer from the first page. You can type different information there if you want, or you can just leave it blank.

Removing a header or footer for any page other than your first page requires a bit more work. Unfortunately, you can’t just tell Word to change the layout of a single page (and headers and footers are considered part of the layout). Word’s page layout features apply to whole sections of the document, and by default, your document is one large section. Advertisement
So first, you’ll need to create a separate section in the document (even if it’s just for one page), and then you’ll need to change the page layout for that new section to landscape orientation. Here’s how.
In your document, place your cursor at the very end of the page right before the page where you want to remove the header or footer. For example, if you want to remove the header or footer on page 12, place your cursor at the end of page 11.
Switch to the “Layout” on the Ribbon, and then click the “Breaks” button.

On the dropdown menu, click the “Next Page” option.

While it’s not obvious, the action you just took created a section break where your cursor was placed, and started your new section on the next page.
The Best Tech Newsletter Anywhere
Join 425,000 subscribers and get a daily digest of features, articles, news, and trivia.
By submitting your email, you agree to the Terms of Use and Privacy Policy.
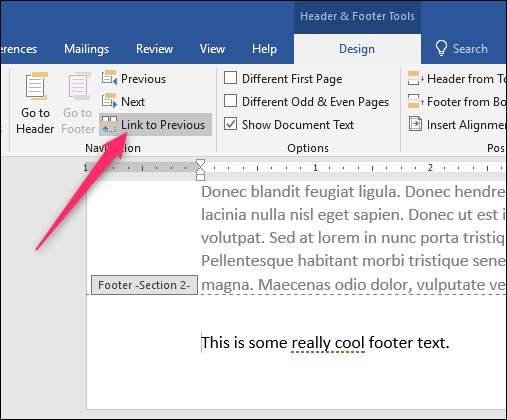
Now, double-click the header or footer area (depending on what you’re removing) on the page where you want to remove it. On the Design tab in the Header & Footer Tools area of the Ribbon, click the “Link To Previous” button. Note that the button becomes de-selected. You’ve now broken the link to the previous sections header or footer.

Note: If you need to delete both a header and footer from a section, you’ll need to delete the text and break the links to the previous section for each individually.
Next, go ahead and delete the text from your header or footer.

You’re not quite done yet, though.
If you scroll through your document, you’ll notice that all the pages following that section break you created now also don’t have the header or footer you just deleted. As you might guess, you now need to create another section break, and then recreate the header or footer for the next section. This works pretty much the same as what you just did.
Place your cursor at the end of the page on which you wanted the header or footer removed—in other words, right before the first page where you want the header or footer to start again.
On the “Layout” tab, click the “Breaks” button, and then choose the “Next Page” option.

Now, activate the header or footer area on the first page of that new section. On the Design tab in the Header & Footer Tools area of the Ribbon, click the “Link To Previous” button. Again, the button becomes de-selected, because you’ve now broken the link to the header or footer area of that new section you made.

Now, all you have to do is create the header or footer you want to use for the rest of the document. If it’s the same material as in the first section of your document, you can just copy and paste it from there, and it will then appear in the rest of your document (except in the new section you created, of course). If you were using page number, and want to continue them in this section, you’ll need to insert the page numbers and then tell Word to start those page numbers off from a particular point. If you’re unsure how to do that, check out our guide on inserting page numbers in Word.
Conclusion
Section breaks are different from page breaks. If you already have a page break before the page where you want to change the header or footer, remove a page break and replace it with a section break as shown below.