How to Create Timeline in Powerpoint – Timelines are a great way to show a chronological order of events. A chronological sequence, from series of events from start to finish. At work, you can have a day of activities linked to a timeline slide followed by the amount of hours worked. In this article I am going to show you how easy it is to create a timeline in Powerpoint 2007/2010. This simple trick will allow you to visually chart out chapters, sections and even years with ease and style.
Powerpoint is an amazing tool for developing not only how to effectively display information to your audience but also celebrating achievements. It is fun and easy to do but the information needs to be conveyed better than color coding or bullet points. This tutorial will teach you how to create a timeline in powerpoint with step by step instructions.
Table of Contents
Should You Use Timelines In Your Presentations?
Many PowerPoint presentations can benefit from the use of timelines. Here are some examples:
- If you’re a history teacher, you can present a timeline of whatever historical event you’re discussing in class.
- If you’re a project manager, you can present a timeline of milestones, deadlines, and deliverables for your project.
- For startups looking for investor funding, you may want to include your product or project’s timeline so potential investors can see if it’s worthwhile getting involved with your company.
There are plenty of uses for a timeline, and it’s ultimately up to you if you’re going to use one in your presentation.
Now, there are a couple of different ways you can make a timeline in PowerPoint. Let’s start with the first, and easiest, method.
How to Create Timeline in Powerpoint
How To Use SmartArt To Make A Timeline In PowerPoint
SmartArt is great for making timelines in PowerPoint because whenever you add a new point in the timeline, the diagram is going to automatically adjust and resize. This means you don’t have to manually drag and resize your timeline. In all honesty, this can be a very time-consuming process especially if you’re working through a lot of dates or milestones.
So here’s how to use SmartArt for timelines:
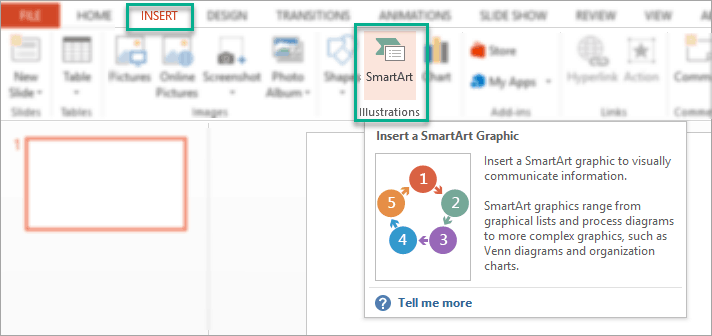
- Go to Insert > Illustrations > SmartArt.
- The Choose a SmartArt Graphic dialog box will then pop-up. Usually, the SmartArt graphics used for timelines are in the Process You can play around and go through the different graphics to see which one best suits your needs.
You can see below that I’ve clicked on the Basic Timeline graphic. You can see a description on the lower right section of the screenshot that PowerPoint gives you a description of what each SmartArt graphic is best used for.
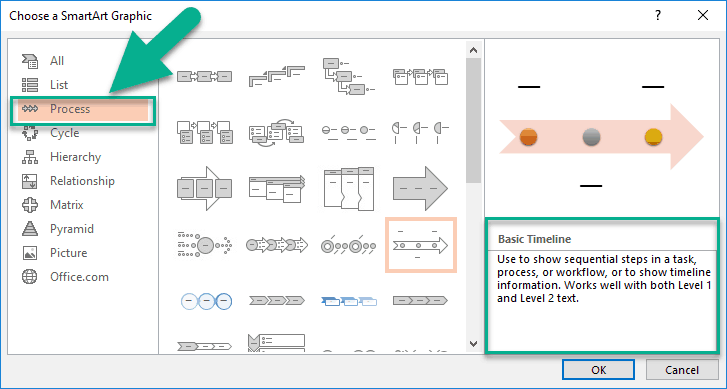
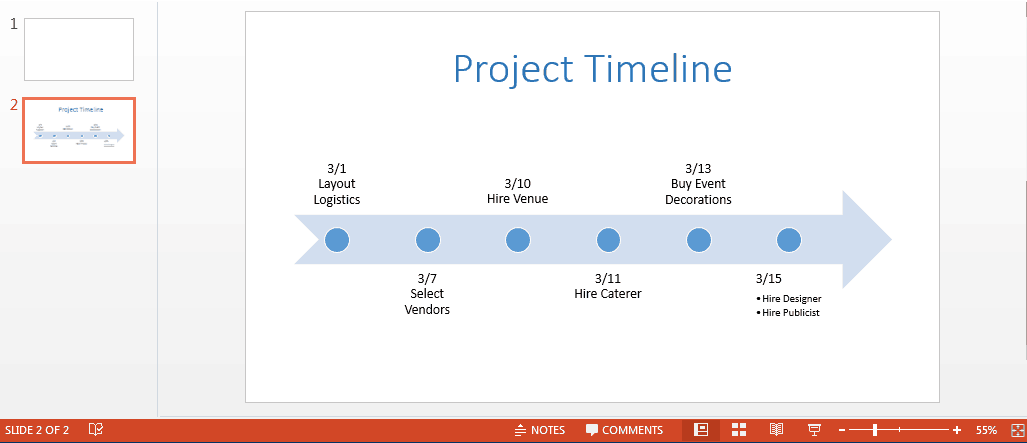
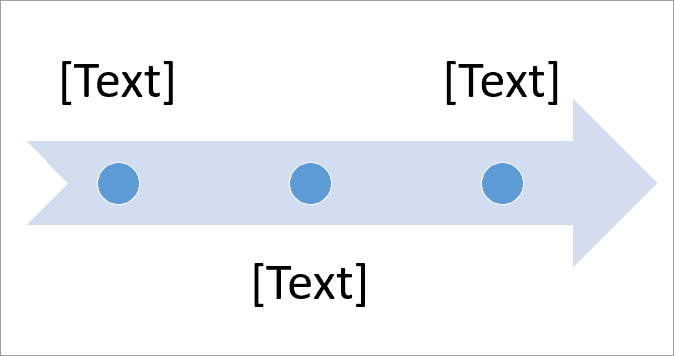
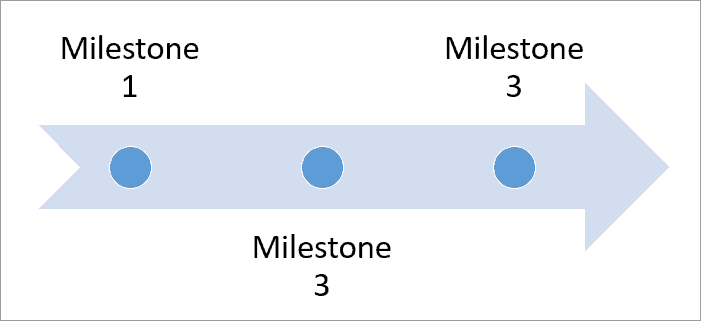
- Once you’ve selected a suitable SmartArt timeline, click the OK For my example, I chose to go with the Basic Timeline graphic. This is what it looks like on my slide.
- You can simply click on the [Text] box and start typing your text. For this example, I chose to write Milestones 1 to 3 on the timeline.
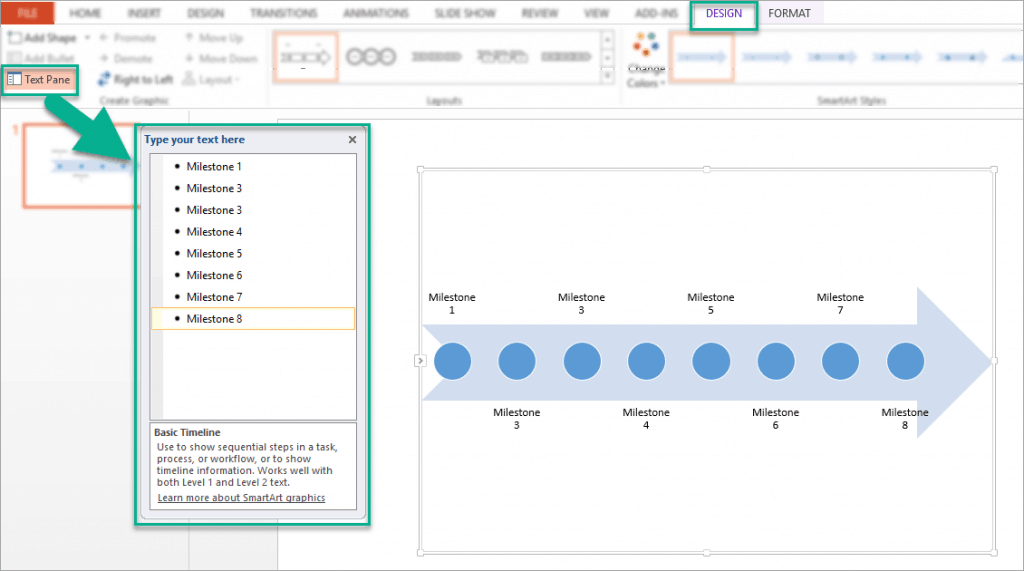
- If you want to add more milestones or dates, you can do so by going to SmartArt Tools > Design, and then clicking on Add Shape. But before you do that make sure you’ve selected or clicked on one of the shapes so you can choose if you want to add the additional shape before or after the shape you’ve clicked on.

- This is what happens when I add more shapes to my timeline. To edit the text easily, I type in the Text Pane instead of on the timeline graphic itself.
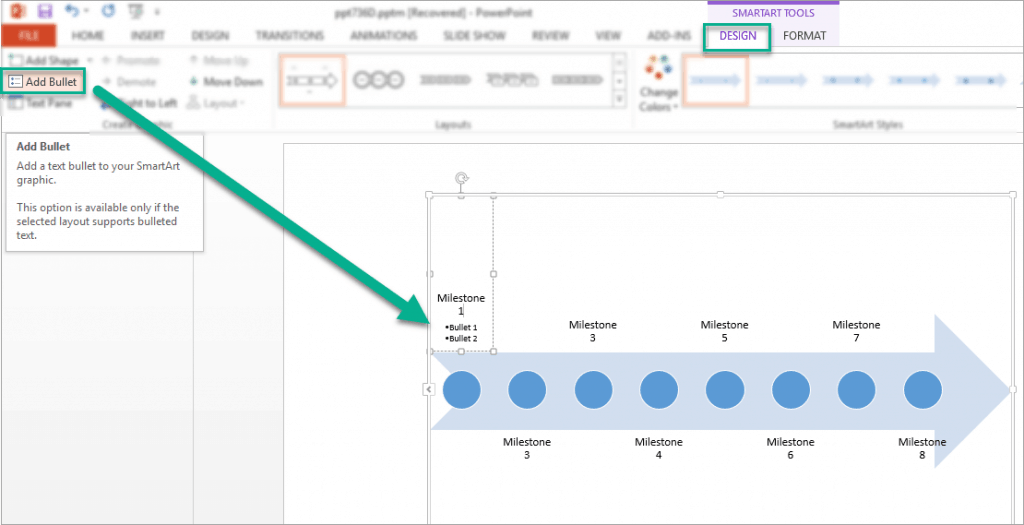
- If you want to add a bullet point under each milestone, you can click on the milestone and then go to SmartArt Tools > Design > Add Bullet. Note that if you don’t click on the milestone first, the Add Bullet button is not going to be clickable.
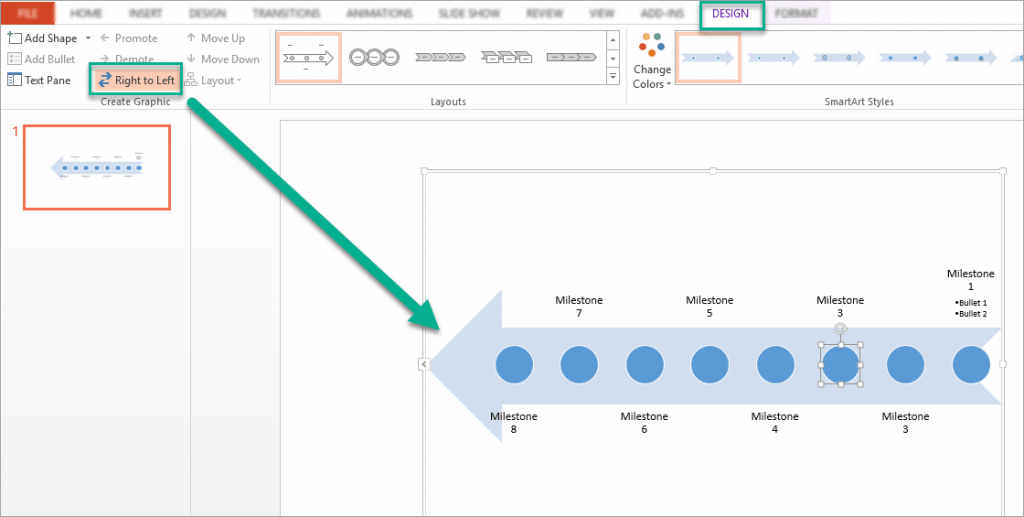
- If you’d like to customize your timeline’s look, you can go through the different settings in the SmartArt Tools tabs Design and Format. For instance, if you’d like to change the direction of the arrow, you can click on the Right To Left button. Here’s what it looks like:
If you’d like to change the layout, you can go to the Layouts section in the Design tab. Here’s what I changed my arrow SmartArt graphic timeline to:
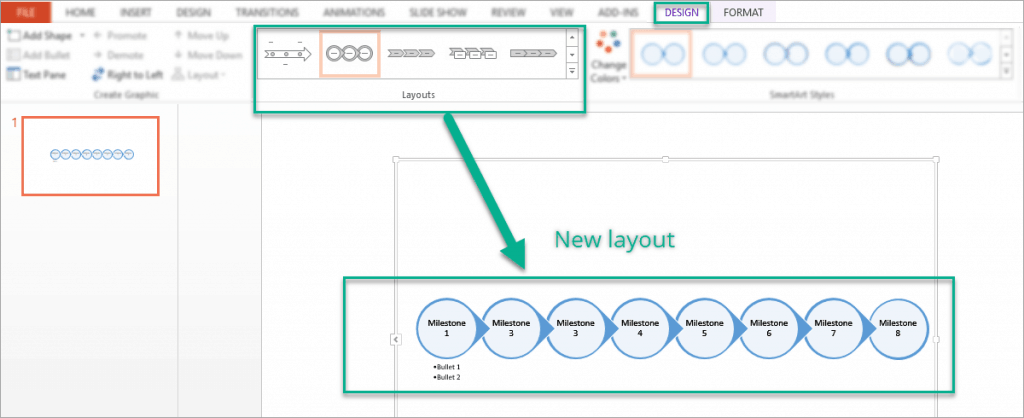
If you’d like to change colors, go to SmartArt Styles, then click on Change Colors.

You can easily change the way your timeline graphic looks. But, at the end of the day, it’s still going to look familiar to many people who’ve been exposed to PowerPoint timelines.
Don’t get me wrong, SmartArt is a great tool for making timelines quickly. However, like I mentioned above, the downside is that your presentation is going to look a lot like millions of other PowerPoint timelines.
How To Create Timelines Manually In PowerPoint
If you care about good design and standing out from the crowd, then you should consider creating timelines manually. This is going to take you a bit longer, but if you’re aiming to impress your audience, this is the way to do it.
Here are a few tips to get you started:
1. Get Inspiration
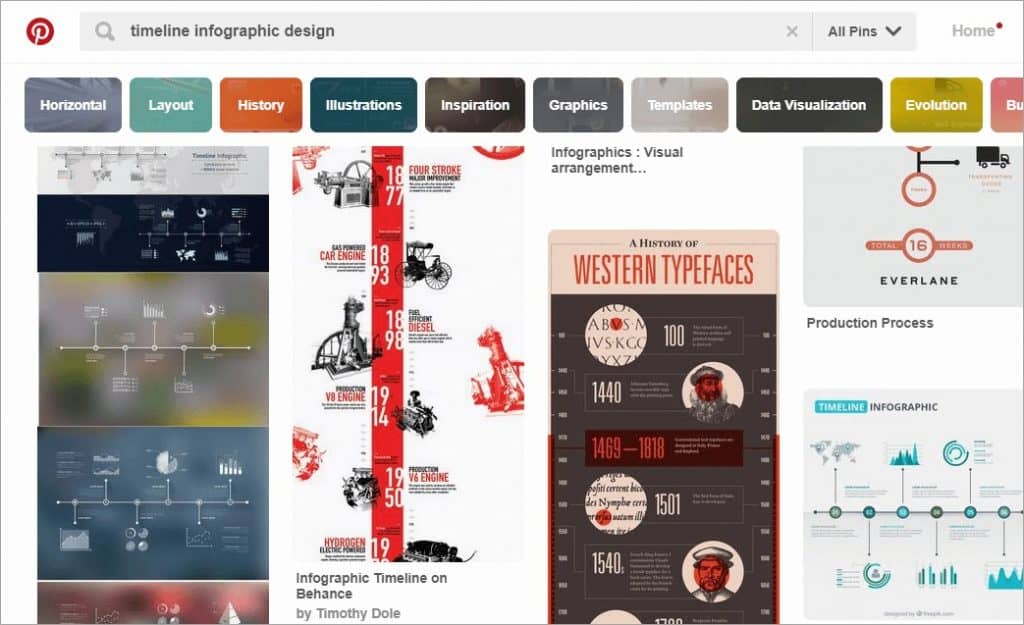
There are plenty of places on the Internet where you can get ideas on how to create a great looking timeline. Timeline infographics are particularly useful because these are often designed by creative designers.
You can go on Pinterest and browse through millions of graphics submitted and shared by members. Here’s what my search for ‘timeline infographic design’ on Pinterest gave me.
2. Use PowerPoint Templates
Templates are awesome because they give you a head start on creating great looking timelines. Now, there are two kinds of templates: free and premium.
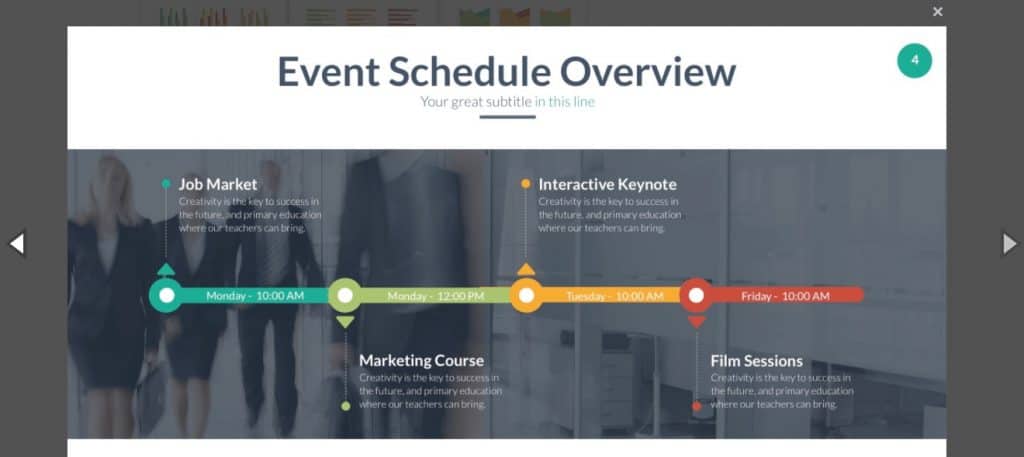
Most premium templates include a couple of slides dedicated to timelines. Here’s an example premium template on GraphicRiver. The bestselling template there is called Motagua, and you can see from the screenshot below that their timeline template looks vastly different from PowerPoint’s SmartArt graphics:
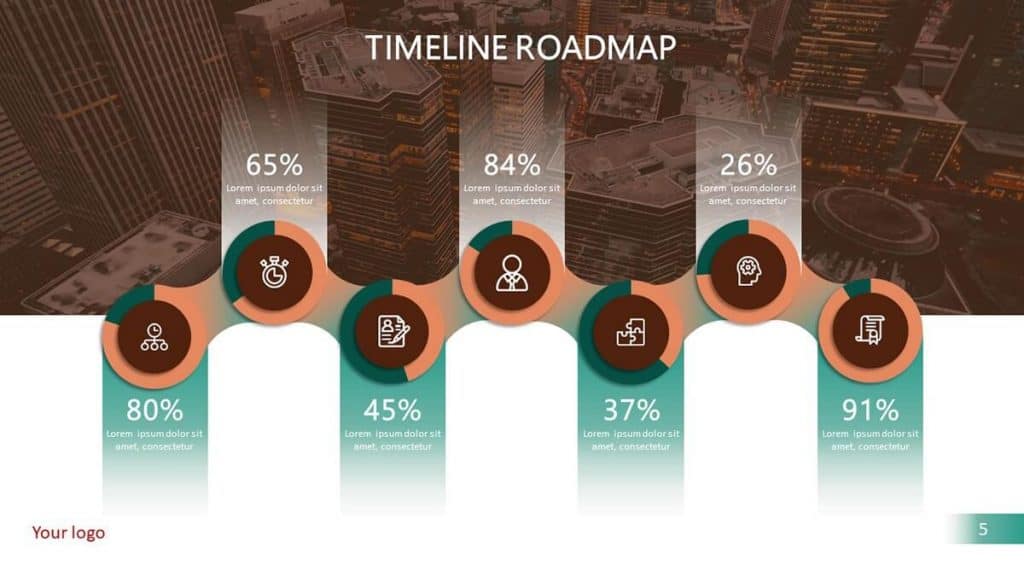
Alternatively, you can check out our very own 100% free and premium-looking templates here on Templates by 24Slides. Here are a few examples:
Timeline & Roadmaps Template Package
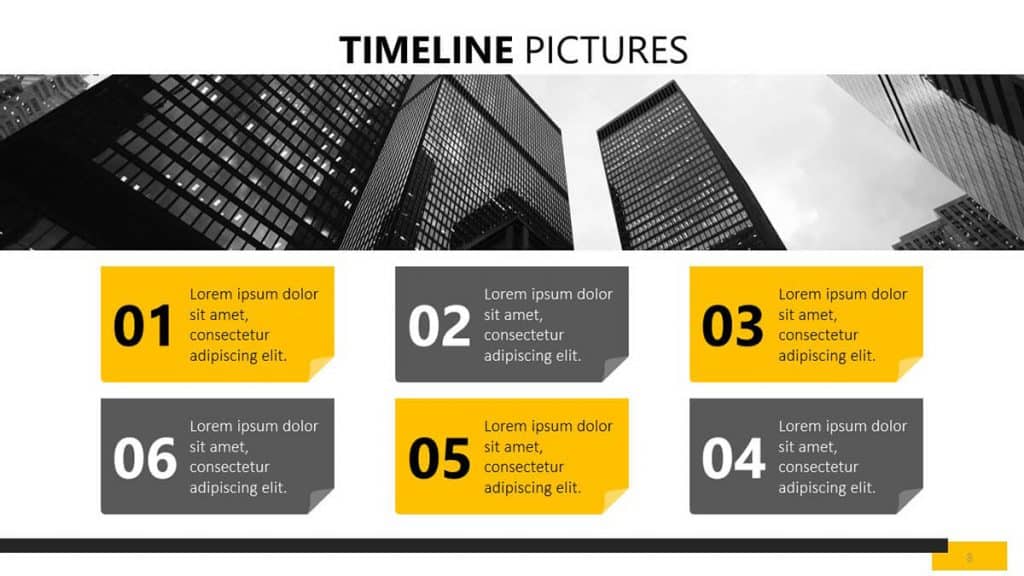
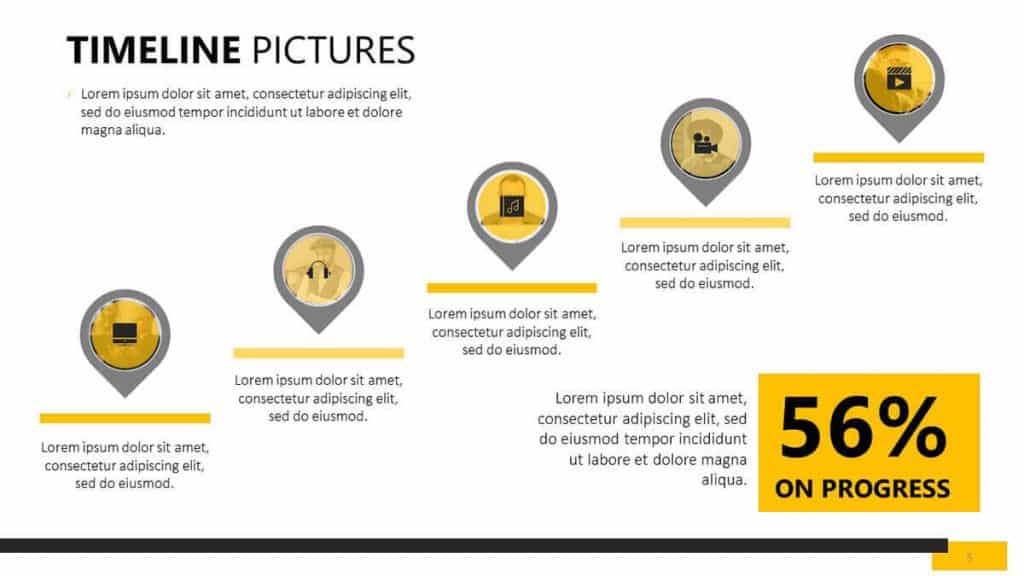
Timeline Pictures PowerPoint Template
3. Use Vector Graphics
For visually enticing timelines, you should use vector graphics as these are fully scalable and can be resized without pixelating. Here are a few sites where you can download free vectors: Freepik, VectorStock, and Vector4Free.
4. Use Animations And Slide Transitions
Don’t show your timeline all at once. Instead, you should show only the first point, talk about it a bit, before proceeding to the next point. Using animations will help get your point across and will keep your audience’s interest as well.

How to Create a Timeline in PowerPoint With an Add-In
Another approach is to use a PowerPoint Add-in specifically built for creating timelines. Office Timeline is an excellent choice if you’re looking to add project timelines (e.g., Gantt Charts), and it’s available in a free version.
:max_bytes(150000):strip_icc():format(webp)/how-to-create-a-timeline-in-powerpoint-4173380-4-5b7487e646e0fb002c3f41a6.jpg)
You’ll need a few minutes to get up and running with the following steps:
- Download the Free Edition of the app from the Office Timeline website.
- Double-click the .EXE file to start the installation.
- Once the installation is complete, PowerPoint starts automatically, shows a quick introduction wizard, and provides a sample file.
:max_bytes(150000):strip_icc():format(webp)/how-to-create-a-timeline-in-powerpoint-4173380-5-5b7488a1c9e77c0057e3b275.jpg)
Once installed, a new Office Timeline Free tab is added to Powerpoint. This tab contains tools to create new timelines, select the style of timeline to be inserted, and enter or import the data on which the timeline is based.
The Office Timeline Add-In is only available for Windows versions of PowerPoint. However, there’s also Pincello, a web-based tool that outputs timelines in PowerPoint format.
Armed with the above options, you’re now prepared to create any type of timeline you want in PowerPoint.
Conclusion
Timeline presentations are essential in business presentations, presentation training, classroom teaching both in school or college. Timelines can help you organize your powerpoint presentation very quickly. Timeline template assists you the making presentation timeline smoothly with the slides.