Are you looking for how to create a website using html on notepad? Did you know anyone can create their own website without coding. It would only cost you an hour to learn how to code using html. I’ll tell you all about creating a website using html on this blog post.
So is it possible for me to create a website using html on notepad? The short answer is yes, but like most things in life, doing it the wrong way will give you varying results. When I talk about notepad, I’m talking about using Notepad++ rather than the Windows default program. The reason for this is speed and efficiency. While you can get a professional-looking site by using wordpad or ms word, I’ve found that making a website in notepad++ will be quicker.
A website is simply a collection of web-pages. A web page or web documents written in HTML (HyperText Markup Language). These Web pages can be viewed using any web browser and Internet.
Html Language is used to write code and programs to create a webpage. It is easy to create a webpage and you can learn it with few basic steps mentioned below:
HTML Program or page can be created by many HTML or Text Editors. These editors are software that help us writing our code with easy user interface. Today, we will see how to create a html or webpage using Notepad Editor.
Notepad editor is built-in text editor in Windows Computers. You can find similar editors in Mac and Linux Operating system as well.
There are many advanced HTML editor or software are also available. However, we will recommend using default and simple editor like notepad for the beginners. That is always a good way to start learning HTML.
Table of Contents
Creating a Simple HTML Page using Notepad Editor
Follow the four steps below to create your first web page with Notepad.
Step 1: Open Notepad (Windows)
Windows 8 or later:
Open the Start Screen and Search (Type Notepad)
Windows 7 or previous Windows:Open Start > Programs > Accessories > Notepad
Step 2: Create a New Document
Go to Notepad Menu: File > New
A New blank document will be opened and you can start writing your first HTML Program here.
Step 3: Write Some HTML code or Program
Write some HTML code. If you do not know about HTML Yet, read few chapters in HTML Tutorials Section.
Write your own HTML code or simply copy the following HTML Simple Program into notepad document.
<!DOCTYPE html>
<html>
<body>

<h1>My First Heading</h1>

<p>My first paragraph.</p>

</body>
</html>
HTMLCopy
Step 4: Save the HTML Page
Go to Notepad Menu: File > Save (or use short-key CTRL + S)
It will ask you to Save the file on your computer. Give it a name with .html extension and Save it (for example program.html)
Note: HTML page should be saved with .html extension carefully.
Step 5: View the HTML Page using Browser
Web browsers are programs or software that are used to view Webpages/Websites. You can find Internet Explored by default if using Windows Computer machine. You can also download other popular web browsers such as Google Chrome or Firefox. Use any of them.
Now Simply, open the saved HTML file in any browser:
Double click on the file or right-click on the file and choose “Open with” option to select other browser.
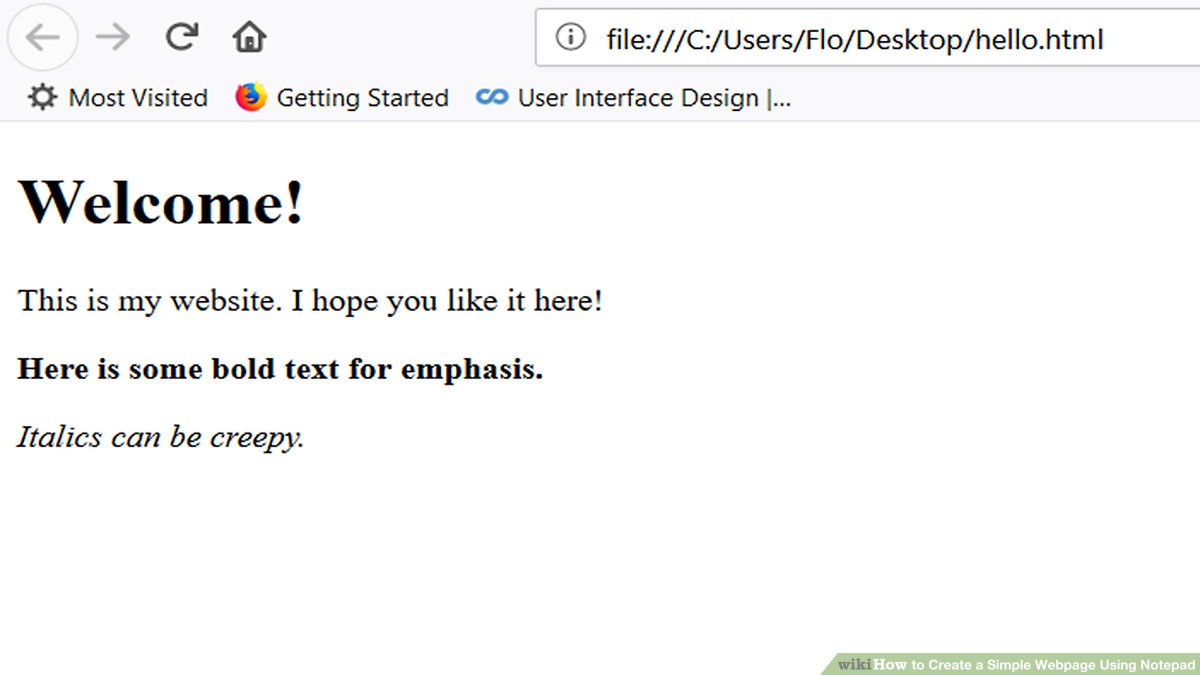
You HTML File will be opened in web browser and it will show output based on your html program.
Method 2
Add Headings and Paragraphs:
Adding Headings in HTML
To insert Headings in HTML we have Six Tags for That. From H1 to H6. Where H6 Gives the Smallest Headline Font Size and H1 Gives the Biggest Headline Font Size.
  <html>
    <head>
      <title></title>
    </head>
    <body>

        <h1>Headline 1</h1>
        <h2>Headline 2</h2>
        <h3>Headline h3</h3>
        <h4>Headline 4</h4>
        <h5>Headline 5</h5>
        <h6>Headline 6</h6>

    </body>
  </html>
Adding Paragraphs in HTML
To add Paragraphs in HTML we have P tags for that.
  <html>
    <body>

        <p>This is My First HTML Paragraph</p>

    </body>
  </html>
Add Images
Adding Images in HTML:
By using HTML’s IMG tag we can Insert Images in HTML.
Provide Image path inside the SRC Attribute.
For Image Height Width Customization we Have HTML’s Height Width Attributes.
  <html>
    <body>

      <img src="myimage.jpg"/>

    </body>
  </html>
Adding Background Image in HTML:
To add a Background Image to a Webpage we have to use HTML’s background Attribute inside the body starting tag.
And inside the background attribute, we have to give our Image’s Path.
  <html>

    <body background="myimage.jpg">
    </body>

  </html>
Adding Audio and Video Files:
Adding an Audio file in HTML:
To Insert audio file in HTML We have Audio Tags for That.
Inside the SRC attribute, we have to Give our Audio file’s Path.
Controle attribute will give us some controls to Control Audio File on our HTML File.
  <html>
    <body>

      <audio src="myaudio.mp3" controls></audio>

    </body>
  </html>
Adding a Video File in HTML:
To Insert audio file in HTML We have Video Tags for That.
Inside the SRC attribute, we have to Give our Video file’s Path.
Controle attribute will give us some controls to Control Video File on our HTML File.
  <html>
    <body>

      <video src="myvideo.mp4" controls></video>

    </body>
  </html>
Styling HTML Elements:
To Style HTML Elemets we use CSS.
Including CSS in HTML Webpage:
To Include CSS in HTML we have to Write HTML’s Style Tag inside the Header Tages.
  <html>
    <head>

        <style>
        //CSS Code...
        </style>

    </head>
    <body> </body>
  </html>
Selecting HTML Elemnts in CSS:
Selecting HTML Element using Tag Name:
  <html>
    <head>

        <style>
        p{
        //P Tag is Selected..
        }
        </style>

    </head>
    <body>
      <p> Paragraph Text...</p>
    </body>
  </html>
Selecting HTML Element using ID Name:
  <html>
    <head>

        <style>
        #myParagraph{
        //P Tag is Selected..
        }
        </style>

    </head>
    <body>
      <p id="myParagraph"> Paragraph Text...</p>
    </body>
  </html>
Selecting HTML Element using Class Name:
  <html>
    <head>

        <style>
        .myParagraph{
        //P Tag is Selected..
        }
        </style>

    </head>
    <body>
      <p class="myParagraph"> Paragraph Text...</p>
    </body>
  </html>
Styling HTML using CSS:
Changing Font Size using CSS:
  <html>
    <head>

        <style>
        #myParagraph{
          font-size:14px;
        }
        </style>

    </head>
    <body>
      <p id="myParagraph"> Paragraph Text...</p>
    </body>
  </html>
Changing Font Color using CSS:
  <html>
    <head>

        <style>
        #myParagraph{
          color:red;
        }
        </style>

    </head>
    <body>
      <p id="myParagraph"> Paragraph Text...</p>
    </body>
  </html>
Changing Background Color using CSS:
  <html>
    <head>

        <style>
        #myParagraph{
          background-color:black;
        }
        </style>

    </head>
    <body>
      <p id="myParagraph"> Paragraph Text...</p>
    </body>
  </html>
Changing Text Alignment using CSS:
  <html>
    <head>

        <style>
        #myParagraph{
          text-align:center;
        }
        </style>

    </head>
    <body>
      <p id="myParagraph"> Paragraph Text...</p>
    </body>
  </html>
Changing Opacity using CSS:
  <html>
    <head>

        <style>
        #myParagraph{
          opacity:0.5;
        }
        </style>

    </head>
    <body>
      <p id="myParagraph"> Paragraph Text...</p>
    </body>
  </html>
Changing Margin using CSS:
  <html>
    <head>

        <style>
        #myParagraph{
          margin:100px;
        }
        </style>

    </head>
    <body>
      <p id="myParagraph"> Paragraph Text...</p>
    </body>
  </html>
Changing Padding using CSS:
  <html>
    <head>

        <style>
        #myParagraph{
          padding:15px;
        }
        </style>

    </head>
    <body>
      <p id="myParagraph"> Paragraph Text...</p>
    </body>
  </html>
Changing width using CSS:
  <html>
    <head>

        <style>
        img{
          width:100px;
        }
        </style>

    </head>
    <body>
      <img src="myimage.jpg" />
    </body>
  </html>
Changing Height using CSS:
  <html>
    <head>

        <style>
        img{
          height:100px;
        }
        </style>

    </head>
    <body>
      <img src="myimage.jpg" />
    </body>
  </html>
Changing Text’s Line Height using CSS:
  <html>
    <head>

        <style>
        #myParagraph{
          line-height:20px;
        }
        </style>

    </head>
    <body>
      <p id="myParagraph"> Paragraph Text.... </p>
    </body>
  </html>
Conclusion
It is possible to create a website using html on notepad, although it may take you some time if are trying to do it using the traditional way. Luckily there are several tools available where you can easily build a website without knowing about html tags or programming language.