How to Remove Baseboards – When repainting a room, you will achieve a more professional look by first removing the baseboards, but you cannot simply pry the trim off the wall with a pry bar or other large tool without damaging the drywall’s paint and paper surface as well as the trim. Whether you are reusing the baseboard or replacing it, use care, patience and a few smaller tools to maintain an unscathed drywall surface.
Table of Contents
When and Why You Would Need to Remove Baseboards
You don’t necessarily need to remove baseboard or other floor trim for all home DIY projects. So, which projects do you need to remove it for and which do you not?
Installing New Floors – Yes, Remove
But if you’re renovating your home and you are installing new carpet or laminate, you will likely want to remove the baseboards first.
Removing baseboards for these projects will prevent the trim from being partially hidden by new laminate and it will make carpet installation much easier.
You could technically leave baseboards in place and install laminate that butts up against the baseboard. However, that is not the proper way to install laminate and I highly recommend removing baseboards before installing new flooring.
Painting – No, Not Necessary
While you could remove the baseboards to paint, it’s definitely not necessary.
You can simply cut in with a paintbrush or use painter’s tape to mask off the trim.
The Easiest Way to Remove Baseboards and Other Trim – Step-by-Step
It’s actually pretty simple and easy to remove old baseboards and trim. The trick is to take your time and not rush.
You also don’t need any special tools to take those baseboards off.
I mean, you could use a trim puller/baseboard removal tool, and I’ve listed a great one below. But, unless you’re going to be removing a LOT of baseboards, you can definitely do this project with common tools most homeowners have on hand.
How to Remove Baseboards
Tools You’ll Need for Baseboard Removal:
- Hammer
- Putty knife
- Utility knife
- Small pry bar
- Pliers
- Pencil
Step 1: Prep the Baseboards
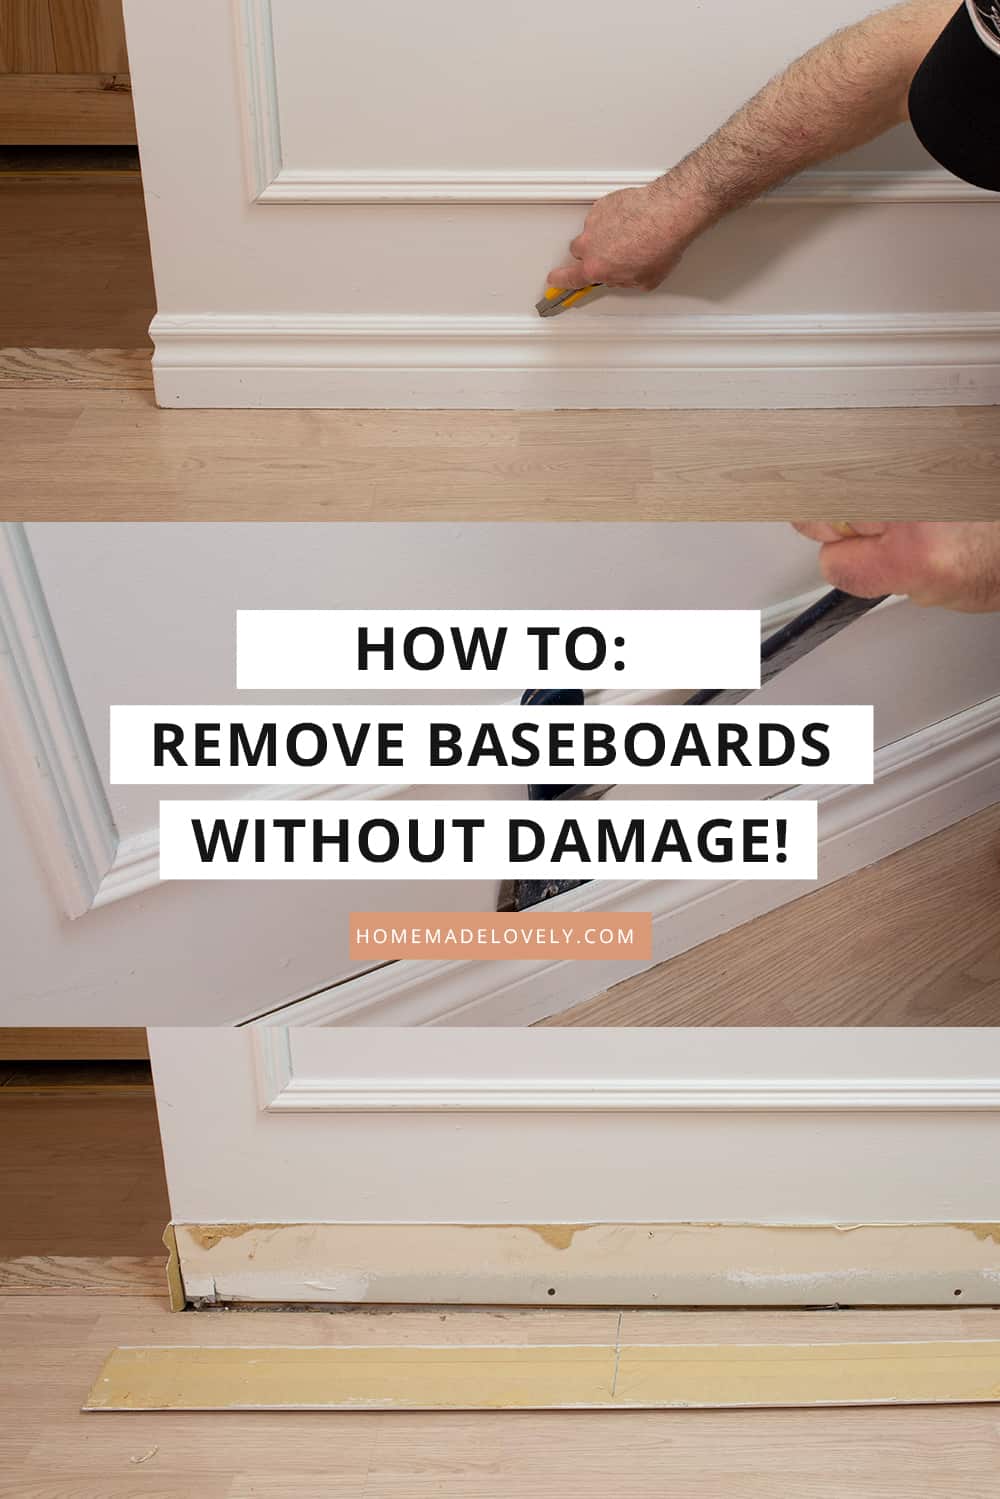
When removing old baseboards, start by checking the corners and tops of the molding for any caulk or other sealant, then cut through it with a utility knife. This will prevent the paint and wood from pulling away with the trim once you start prying.
Step 2: Double-Check the Cut of the Inside Corners

To ensure you don’t damage the baseboards while removing them, double-check the inside corners to see if they’re mitered or coped. Mitered corners meet at a 45-degree angle, whereas coped corners overlap each other using beveled cuts. If yours are coped, you’ll need to remove the coped side first to prevent damaging the other piece.
Step 3: Start Loosening the Baseboards
Work a putty knife between the top edge and the wall, being careful not to crack the top part of the board. You should focus on the areas where the baseboard is attached to a wall stud, loosening up the nails holding it in place.
Pro Tip: Do Not Pry Between Nails
Prying baseboard where there’s no nail can easily crack it. Make sure you are always prying near a nail so the force of pulling on the board doesn’t damage the wood.
Step 4: Pull the Boards From the Wall
Now it’s time to remove the baseboards using a pry bar. Slide the pry bar into the crack, making sure it’s resting against the middle of the trim and not the top edge. You should also slide the putty knife behind the pry bar so you aren’t directly prying against the wall. Work your way from one end of the baseboard to the other until it is completely free.
Step 5: Remove Any Nails Left in the Trim
Use a pair of pliers to remove any remaining nails through the back of the baseboard. You do not want to try hammering the nails through the face of the board as this will chip the paint, or possibly damage the wood itself.
Step 6: Number Each Board
This extra step will save you a lot of time when it comes time to reinstall your baseboards. Using a pencil, write a number on the back of each board representing the order in which you’ll reinstall them. Then, mark each board number on the section of wall where it will be reinstalled.
How to Reinstall Baseboards
Tools You’ll Need to Reinstall Baseboards:
- Nail gun
- Finishing nails
- Nail set
- Paint & Brush
Step 1: Paint the Baseboards Beforehand
Apply a new coat of paint or finish to your baseboards before installing to remove any marks or discoloration they’ve picked up over the years. This will also make it easier to add any touch-up paint they need after going back on the walls.
Step 2: Nail the Baseboards Back in Place

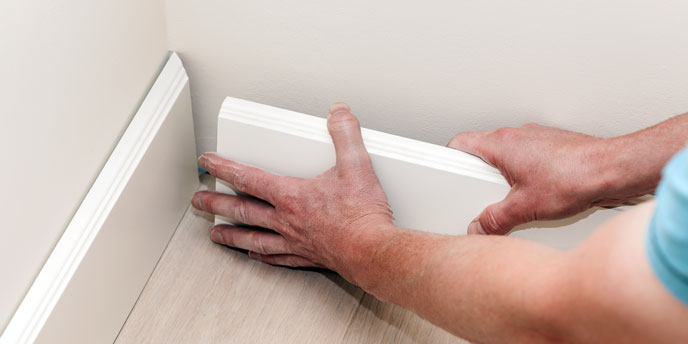
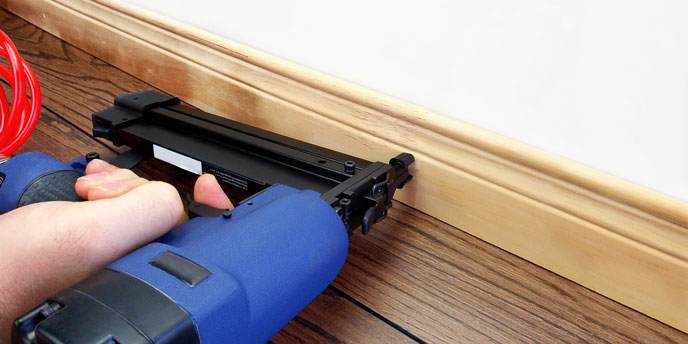
Starting with your first numbered board, use a nail gun to reinstall each baseboard with finishing nails. Typically, you only need one nail for each wall stud and two for each end of the board (.
Step 3: Sink Your Nails
Use a nail set to tap the nails just below the surface of the board. If a nail starts to bend, slide your putty knife between the nail head and board, then pull the nail out with a pair of pliers. Renail the board in a different spot and remember to spackle the old nail hole.
Step 4: Spackle and Touch Up the Baseboards

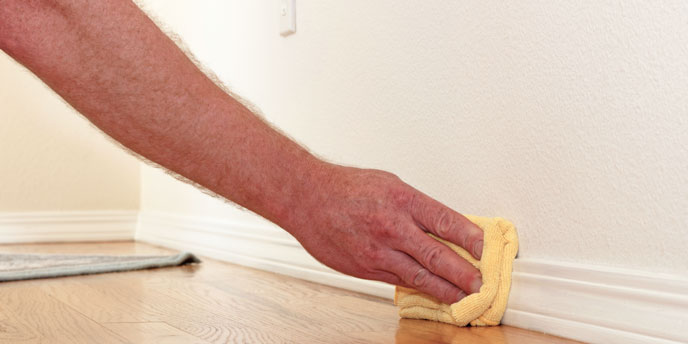
After reinstalling your baseboards, fix any damage by filling it in with spackle or wood putty. Also make sure to fill in the nail holes before painting over them.
After you’ve reinstalled your baseboards, you can finally relax and enjoy your new flooring, whatever it may be.
Tip
If you must use a larger tool to remove stubborn trim, such as a small crowbar or durable chisel, place a broad knife or wide putty knife behind the trim against the wall for prying against and protecting the drywall’s surface.
Warning
Wear safety glasses to protect your eyes when prying trim from walls.
Conclusion
Baseboards and trim can get wedged tightly in corners and stubbornly stick to your walls. This becomes a problem when you need to remove them, since a regular pry bar won’t remove them without causing damage to your wallpaper, paint, and walls (especially drywall). You may even want to save the trim or baseboard for future projects, but it might seem impossible to remove them without breaking them.
