Hey there! Would you like to How to Make a Single Name Account on Facebook 2022? This post will show you how to change your Facebook name to a single name or word. In some societies, such as with Javanese people in Indonesia, it is common for people to have a single name rather than a first and last name. Because of this, Facebook doesn’t require users in Indonesia to use a last name on their profiles.
If you’re not in Indonesia but still want to use a single name, not to worry because, in this post, we’ll show you how to use a single name on Facebook 2022 by using an Indonesian VPN server and changing your hometown to one in Indonesia. Just know that using a name other than your own violates Facebook’s name policy—if someone reports you, your account could be suspended.
Table of Contents
How to Make a Single Name Account on Facebook 2022
Here are the steps on How to Make a Single Name Account on Facebook 2022:
1. How to Make Single Name Account on Facebook using Proxy
Here is how to one name in Facebook using chrome 2022:
Let’s create a single name account on Facebook with the help of a proxy. In this method, we will use an Indonesian proxy to hide last name in Facebook account. Let’s see how it works:
1. We would need to use manual proxy settings in our browser. We need to opt for an Indonesian proxy since all our work would be done manually. You can be easily guided through websites like ProxyNova.com for setting up the proxy.
You can change the proxy settings by using the methods shown in these articles. Check your browser and follow the instructions:
2. After the first step is done, check if it is working fine on Facebook since we have changed our proxy belonging to Indonesia on Facebook.
3. In this step open your Facebook account and then go to the Account Settings by clicking on the down arrow on the top right corner.

4. You will come across the Language column on the left side panel. Now over there you can change the language to Bahasa Indonesia, which you find in front of What language do you want to use Facebook in.

5. Now, Facebook is in the Indonesian language so it could be hard to understand the available options. Again click the down arrow and find Pengaturan which is the second last from the bottom. This will open the Settings menu. Now click on Sunting in front of your name under Umum Column.

6. A new window will open, you have to remove your last name in front of Belakang and save it by clicking Tenjau Perubahan.
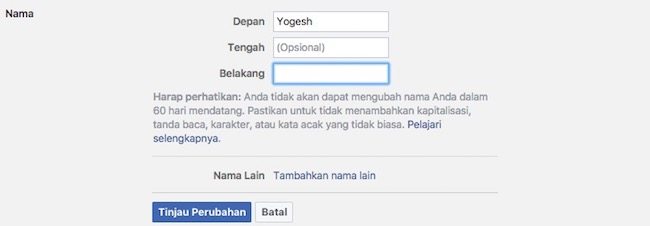
7. You can now change your language by clicking Bahasa column in settings and then click on “Bahasa apakah yang ingin Anda gunakan saat membuka Facebook?” and select “English (US)” from the dropdown menu.
That’s it, this is how you can create a single name account on Facebook using proxy.
2. How to Make Single Name Account on Facebook without Proxy
In the above method, we used a proxy server to hide last name on Facebook. But, if you don’t want to use a proxy, then this method is for you which will help you to create a single name account on Facebook without proxy.
1. If you don’t wish to use manual proxy setting, then you can perhaps download the VeePN Google Chrome extension.
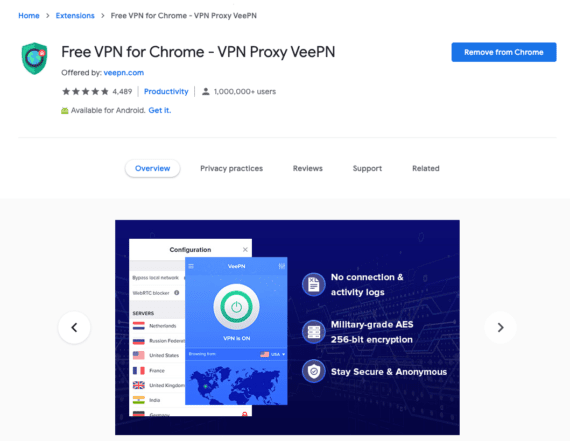
2. After installing VeePN extension, you can perhaps turn it On by clicking the white power button.
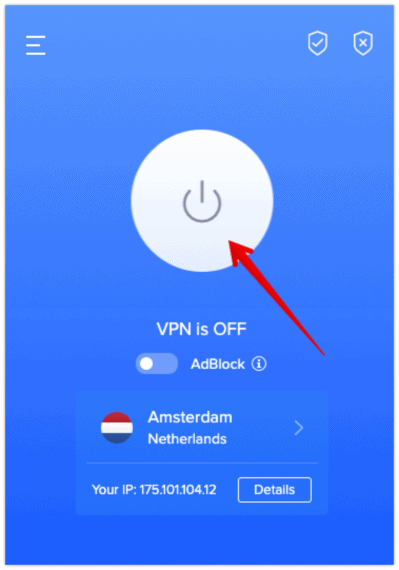
3. You will come across a country column, click on it and select Indonesia from that list.
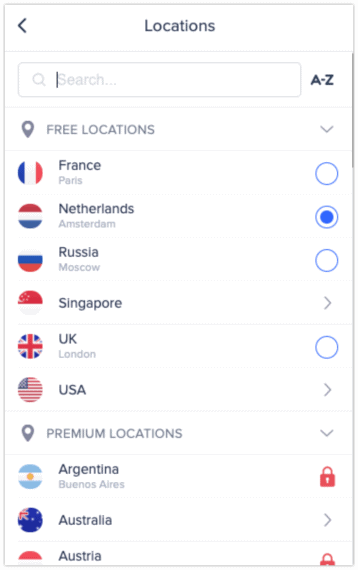
4. Hola extension will change the proxy settings on its own and you don’t need to change proxy manually.
5. In this step open your Facebook account and then go to the Account settings by following step 3 we showed in the above method.
6. You will come across a language column over there. Now over there you can change the language to Bahasa Indonesia.

5. The language of Facebook will be in Bahasa Indonesia now and you may find it difficult to navigate within Facebook. Don’t worry, we’ll guide you in right path. Click the down arrow and select Pengaturan which will open Facebook settings and click on Sunting in front of your name under Umum Column.

>>>> Related Post: How to Advertise Your Business on Facebook<<<<
6. Next, you have to remove the last name in Belakang text field and click Tenjau Perubahan button to save it.

7. You can now change your language to default by clicking Bahasa column in settings and then click on “Bahasa apakah yang ingin Anda gunakan saat membuka Facebook?” and select “English (US)” from the dropdown menu.
That’s it, this is how you can make a single name account on Facebook without proxy.
3. How to Make Single Name Account on Facebook using Mobile
Here are directions on how to one name on Facebook using mobile:
Want to hide your last name on Facebook? Check this method that will help you to make a single name account on Facebook using Mobile.
1. In this step, open any browser on your mobile phone and put the following URL: https://m.facebook.com/
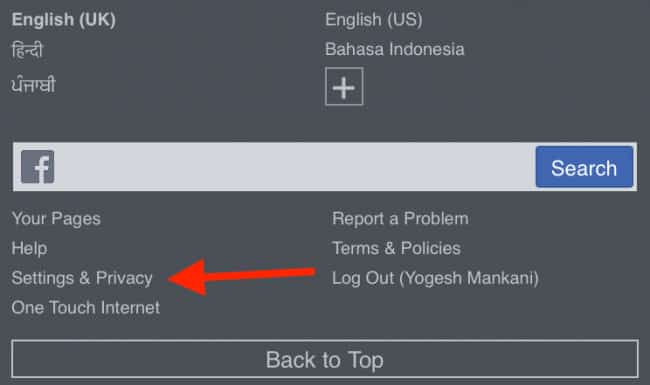
2. Put login details to open your Facebook account. Now, click on Settings & Privacy that you will find at the bottom of the page.
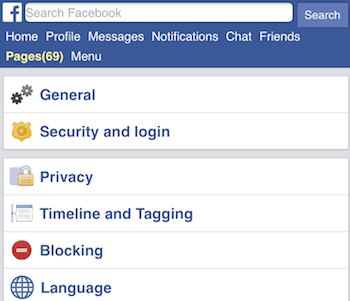
3. Scroll down to Language option.
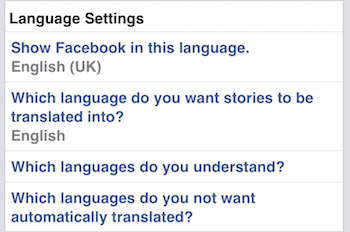
4. You will come across various options, you need to further click on Show Facebook in this language and then change the language.
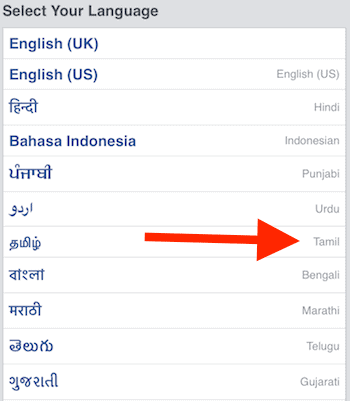
5. Select Tamil from the list of languages. Try to do it in Google chrome browser so as you can easily translate the page and understand the information.
6. In this step click on Settings & Privacy again and then further click on the General option. Now, click on the Name and further edit it as you want.
7. Now remove the last name and then click on Review Change to look for the changes in the name.
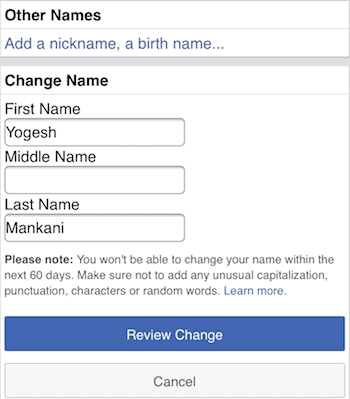
8. In this step you need to Enter your Password so as to save changes. You can change your language back to English.
Conclusion
That is it, you have successfully made a single name account on Facebook using Mobile. We think this is the easiest way to hide last name on Facebook.
What do you think? Which is the best way you like to make single name account on Facebook. Do let us know in the comments section below.

These methods do not work with an existing facebook account