How to Edit Hosts File – On occasion you will need to edit the hosts file on your machine. Sometimes because of an attack or prank, and others so that you can simply and freely control access to websites and network traffic.
hosts files have been in use since ARPANET. They were used to resolve hosts names before DNS. hosts files would be massive documents used to aide the network name resolution.
Microsoft kept the hosts file alive in Windows networking which is why it varies very little whether used in Windows, macOS, or Linux. The syntax stays mostly the same across all platforms. Most hosts files will have several entries for loopback. We can use that for the basic example for the typical syntax.
The first part will be the location to redirect the address to, the second part will be the address that you will want to redirect, and the third part is the comment. They can be separated by a space, but for ease of reading are typically separated by one or two tabs.
Table of Contents
Edit Your Windows 10 Host File as an Administrator
The HOSTS file is normally stored in a plain text file in the Windows System folder and can be modified for various use cases. One particular reason I edited the Host file in the past was to block certain websites when I imaged computers for a local high school. This was probably one of the best and easiest ways I could ensure students didn’t load any unauthorized websites such as Facebook or YouTube.
Editing your Windows Hosts file doesn’t have to feel like going down a rabbit hole. In Windows XP and earlier versions, the process was quite easy, add an exception to your antivirus, open it in Notepad, make your changes then save it.
In Windows 10, if you try to edit your hosts file, you’ll probably be able to open it just fine, but when you go to save it, you’ll get an error:

Here’s how you can edit your hosts file without getting the “You don’t have permission to save in this location. Contact the administrator to obtain permission” error.
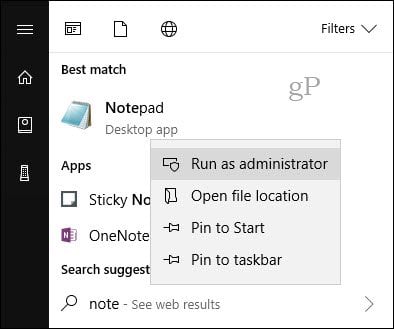
Hit the start menu or press the Windows key and start typing Notepad.
Right-click Notepad and choose Run as administrator.
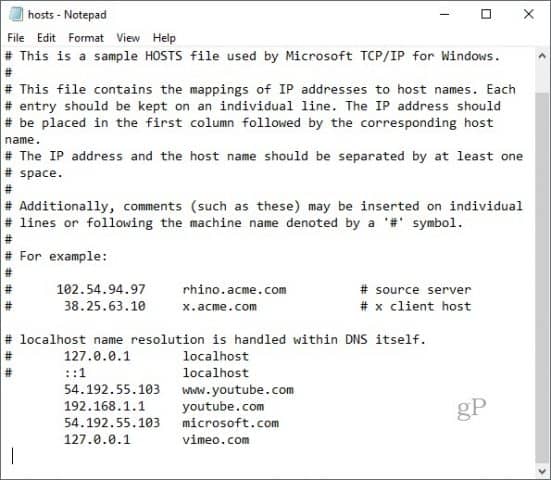
In Notepad, click File then Open… In the File name field, paste the following path in:
c:\Windows\System32\Drivers\etc\hosts

Now you’ll be able to edit and save changes to your HOSTS file.
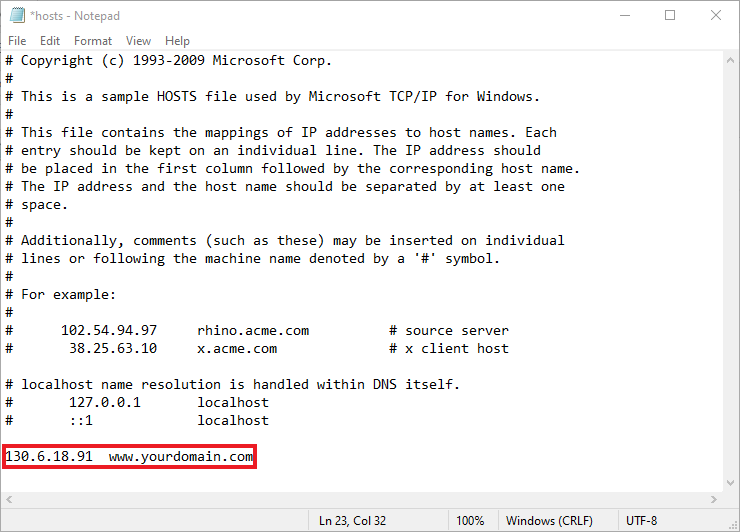
To map a domain, add a line based on the examples in the HOSTS file.
Start with the target IP address, then a space, then the domain name. If you want to block a website, redirect it to 127.0.0.1.
Don’t put in the # if you want it to take effect.
Also, remember that www.youtube.com is different than youtube.com.
You may need to restart your computer for the new HOSTS file to take effect.
An Easier Way to Edit the Hosts File in Windows 10
If you found that process a bit cumbersome, there’s a third-party utility you can use to modify your HOSTS file. I found a good one called Hosts File Editor by Scott Lerch. Let’s take a look and see how it works.
Now that you know the basics, here’s how you do it using the app, HOSTS File editor.
Download the 1 MB installer, then proceed to set it up. Remember to choose the option just for yourself if you don’t want other users to access it.

Launch the app in Start > All apps—this will add the app to the Notification area, where you can launch the editor anytime you need to.

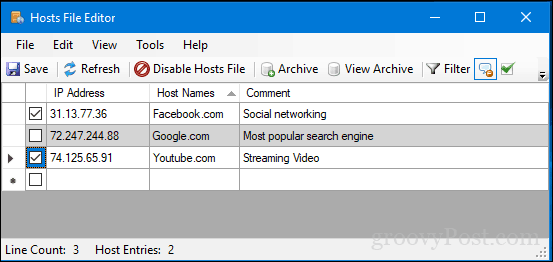
Hosts File Editor features a clean, easy-to-use interface. To begin using the program, populate the table with IP Addresses, Host Names, and comment on the websites you want to manage. It’s not just limited to popular Internet websites. Even devices on your home network with an IP address can be managed, so your Xbox, iPad, web cameras, or routers are much easier to block access to if needed.

When you are ready to block a website, check the box for the sites you want to prevent access to, click Save, and that’s it.
Another nice ease of use feature is the ability to right-click the Hosts File Editor in the Notification area, click Disable Hosts File, or make a quick edit. No need to go hunting or launch the command line anymore.

There are some other cool features included for power users and network administrators, such as:
- Cut, copy, paste, duplicate, enable, disable and move one or more entries at a time.
- Filter and sort when there are a large number of host entries
- Archive and restore various hosts file configurations when switching between environments
- Automatically ping endpoints to check availability
How to Edit Mac Hosts File
Step 1: Open the Mac Terminal
Open the Finder, and go to Applications > Utilities > Terminal
Type the following in the terminal window:
sudo nano /private/etc/hostsThe system should prompt you to enter your password – this is the same password you use to log in to the system. Type it in, and hit Enter.
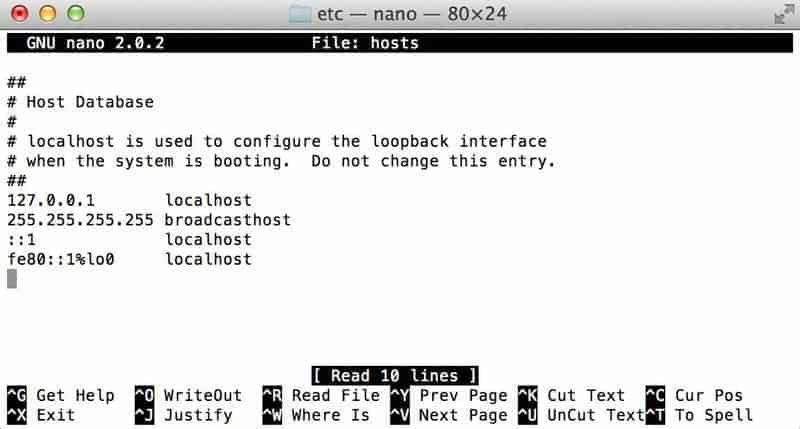
Step 2: Edit Mac Hosts File
The IP address is first, and the server name comes second. Comments are indicated with a ‘#’ sign. Consider the example below:
0.0.0.0 server.domain.comEnter the IP address you want to refer to first, hit space, and then the server name (or domain name) that you want to associate with it.
If you make a mistake, you can tell Mac OS to ignore a line by typing a # at the beginning of that line.
Save your changes by pressing Command + O, then exit by pressing Command + X.
Conclusion
Editing the hosts file in Windows, Mac, or Linux operating system is a simple task.
It’s especially handy that the file looks the same, no matter which you’re running! Just make sure you know the IP address of the server you want to connect to, and then specify the name you want to type into a browser, and you’ll be on your way!