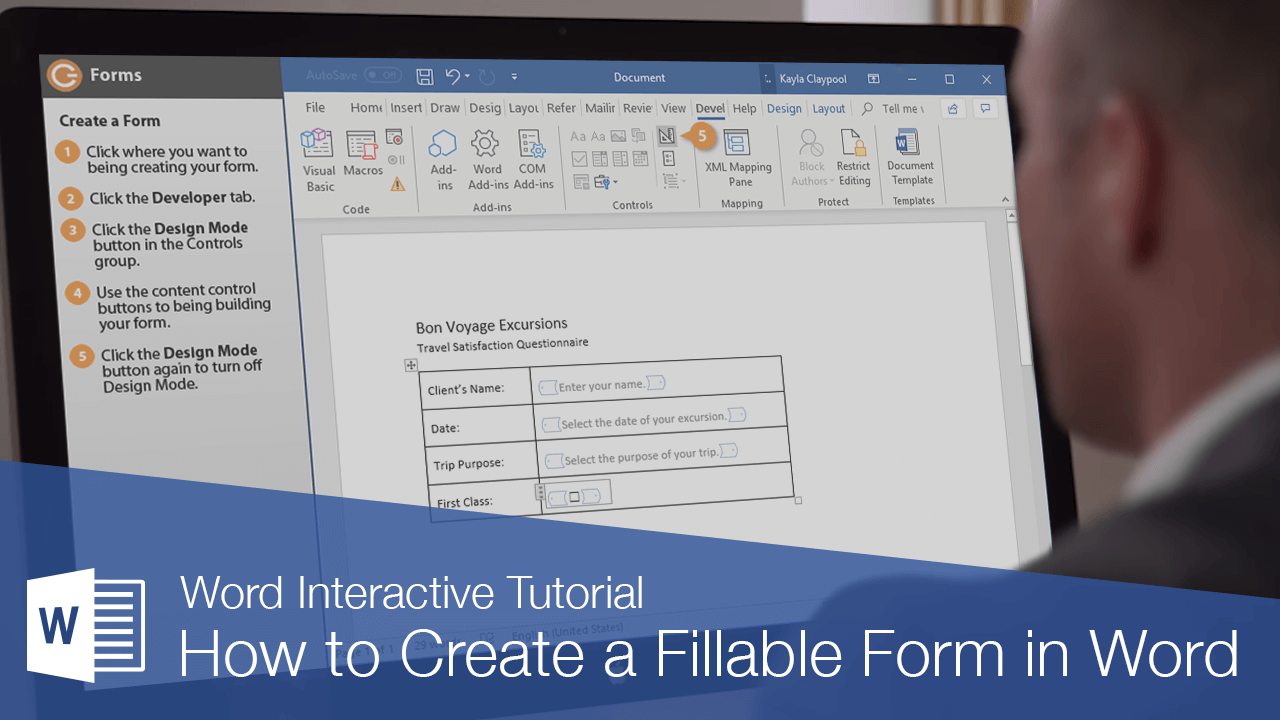
How to Create Forms in Word – Have you ever wanted to save a form that you could then edit and re-use in the future? For example, I have a client who wants me to create a Word template from their membership forms. This way, every time they have a class, they will have a form template they can re-use, instead of having to recreate it from scratch each time.
Did you know that Word comes with a built-in form creation tool? In this article, we’ll show how to use Word’s field feature to create professional-looking forms.
Table of Contents
Part 1. How to Create Forms in Word
Below, we will do a walkthrough with you on creating a form in Word that can be filled out by others:
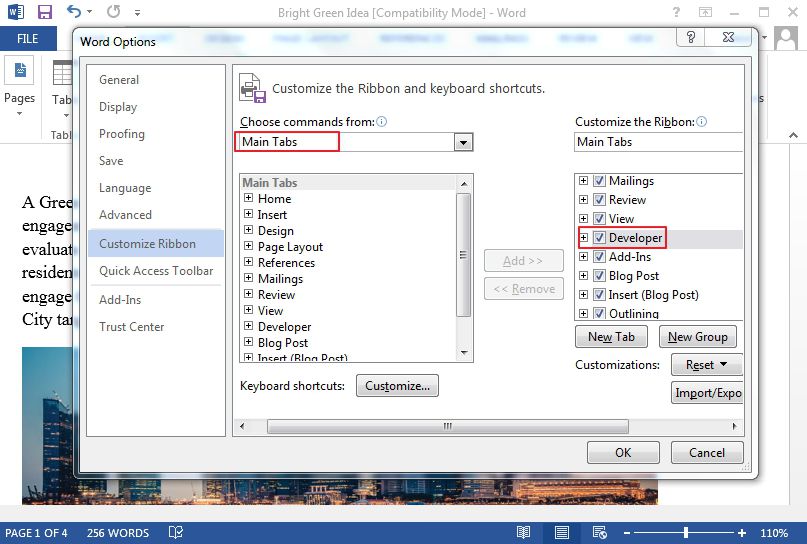
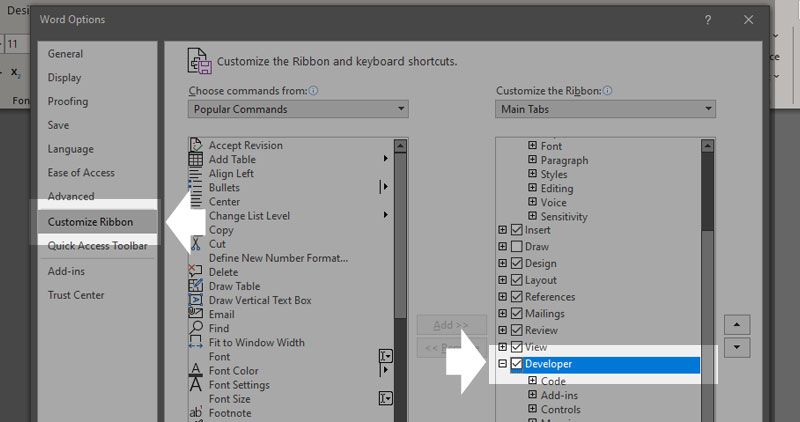
Step 1: Display the “Developer” Section
- Go into the “File” tab; then click “Options.”
- Now, select “Customize Ribbon.” And go to the list under “Main Tabs,” choose the “Developer” checkbox, and click “OK.”
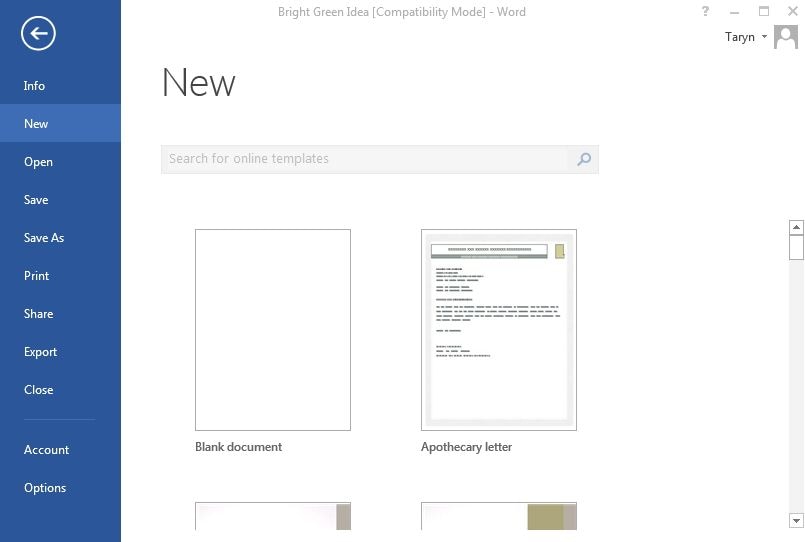
Step 2: Create a Form Template
To avoid wasting time, you should start with a form template and ensure you begin this step with a blank template.
A Form Template: Your Starting Point
- Go into the “File” section and click “New.”
- You will see the “Search online templates” box; here, input the form type you want to create; then click “ENTER.”
- Select your desired form template and press “Create.”
To Start With a Blank Template:
- Go into the “File” tab and click “New.”
- Press the “Blank document.”
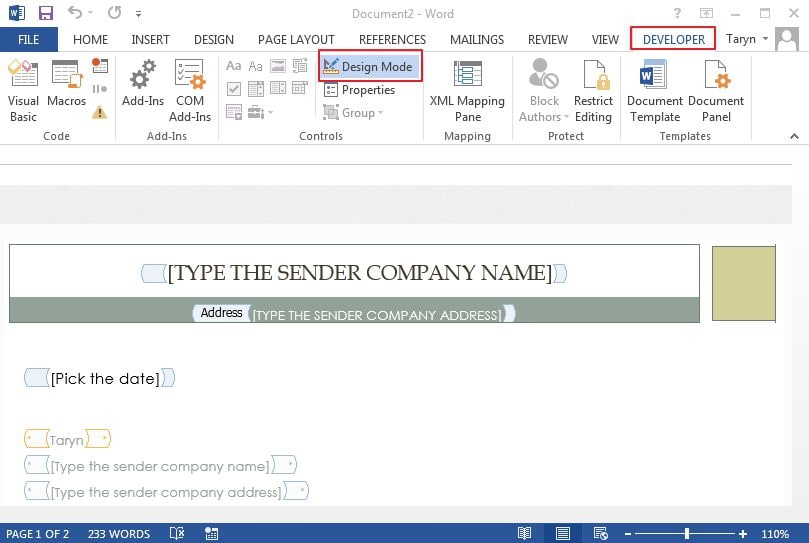
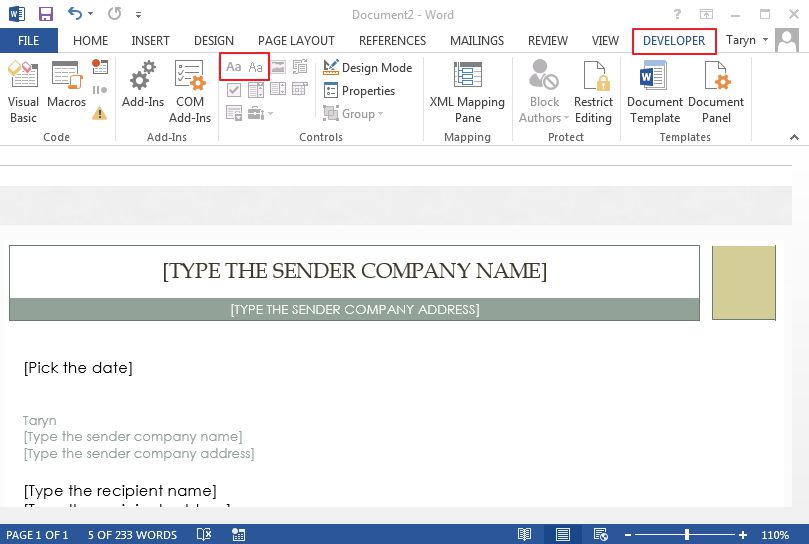
Step 3: Add Content to This Form
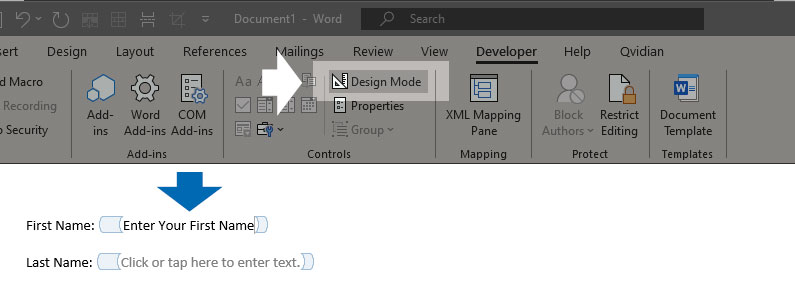
- Go into the “Developer” section and click “Design Mode.”
- You should then insert your desired controls.
It would be best if you inputted a text control in a section in which users can enter text.
Users can format text as italic or bold under a rich text content control; also, they can type multiple paragraphs. If you prefer to limit what users add, you need to input (or better still, insert) the plain text content control.
- Click the part in which you want to insert this control.
- Go into the “Developer” section and then select “Plain Text Content Control,” or “Rich Text Content Control.”
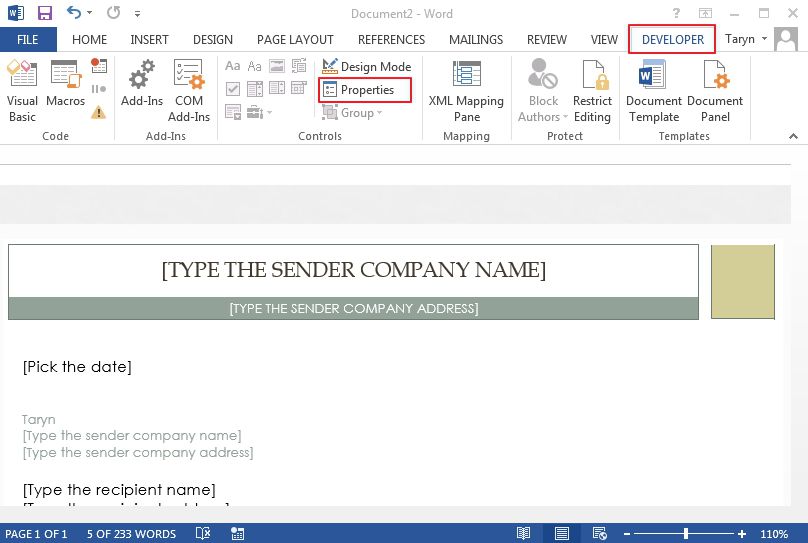
Step 4: Set Properties for Content Controls
There are properties you can set/change for all content controls.
- Select the content control (picture, date picker, etc.), which you intend changing.
- Go into the “Developer” section, click “Properties” to select the properties as you want.
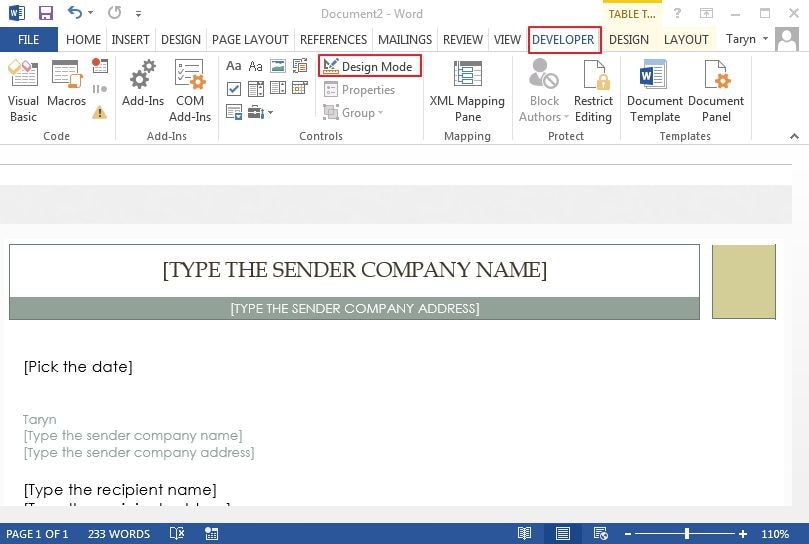
Step 5: Include Instructional Text to Your Form
Do these to customize the default instructional text for users of the form:
- Go into the “Developer” section and select “Design Mode.”
- Click the content control in which you intend to modify the placeholder instructional text.
- Effect your desired change in the placeholder text and do the formatting in your preferred style.
- Again, go into the “Developer” section and un-tick “Design Mode” to put the design feature off and save your added instructional text.
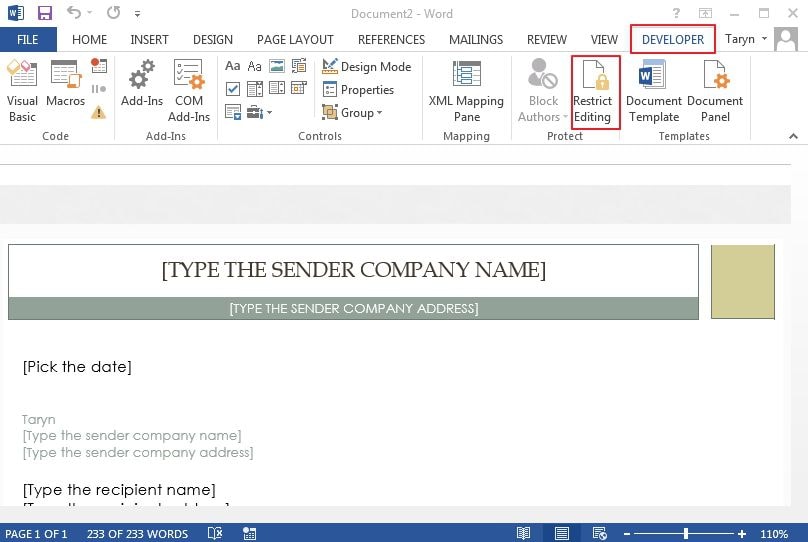
Step 6: Include Protection to Your Form
This step (use of the command “Restricting Editing”) is for limiting the extent at which others can format/edit a form:
- Open your form to go to “Home,” click “Select and then press CTRL+A.
- Go into the “Developer” tab and select “Restrict Editing.”
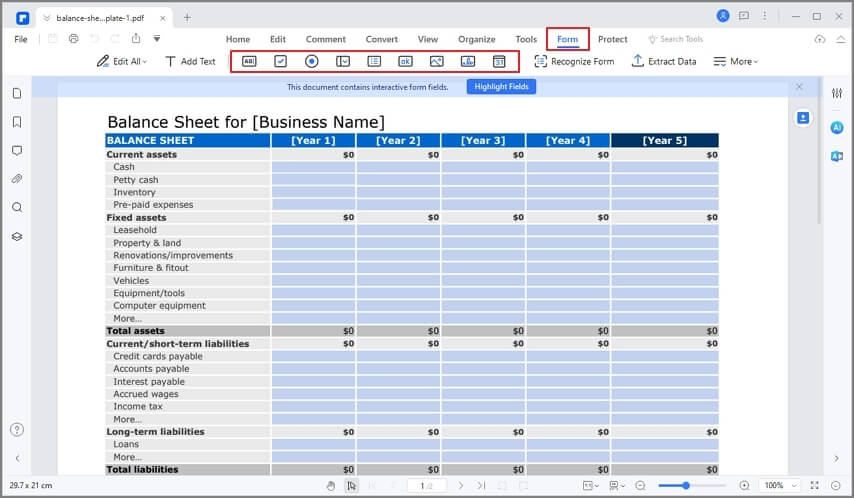
Part 2. How to Create a Form in PDF Documents
After learned how to create a form in Word, you might also interested in how to create a form in PDF documents manually. For this, PDFelement as a powerful PDF editor, is a great choice for you to create a form, and you can just follow the steps:
Step 1. Open PDF
Open your PDF document by click on “Open files” in the program.

Step 2. Create a Form in PDF File
Click “Form,” followed by the “Add Text Field” button. Choose the appropriate file location; then, the checkbox or text field will be added. Select the “Preview” feature on the top right and click the text field; then, start typing directly.
PDFelement offers users a fully-loaded PDF solution, including amazing features for creating, editing, converting, and signing PDF documents: everything at an affordable price. It is the best tool for digitizing your paperwork and accelerating how you create, sign as well as prepare PDF documents. Also, owing to the numerous benefits of PDF over DOC format, a few of which have been mentioned above, PDFelement is the perfect option to create a fillable form.
Part 3. Advantages of PDF Format
PDF, alternatively known as Portable Document Format, is a file format employed in presenting as well as exchanging documents dependably, without the need for software, hardware, or any operating system. PDF: which was invented by Adobe: and Word DOC are both universally accepted formats for documents. However, the former is better than the .doc format when it comes to printing high-quality documents. Also, PDF is the best format for creating online content and archiving files; due to these benefits, the Portable Document Format is extremely popular worldwide. There are various programs for creating and editing PDF files; among the best is PDFelement.
This software is ideal for creating, annotating, and editing PDF documents. Also, one of its numerous uses is creating fillable PDF forms. With PDFelement, you can create interactive forms. Using a combination of buttons, you can create as well as design form fields in an interactive format with this tool. PDFelement enables you to add checkboxes, text fields, radio buttons, list boxes, combo boxes, as well as buttons for creating a fillable PDF form. What’s more, it allows you to share or save your documents to Wondershare Document Cloud, providing you with a large cloud storage space (up to 100GB) to save documents in the cloud so that you can view the file on any device.
Tech Tip: How to Create Fillable Forms in Microsoft Word
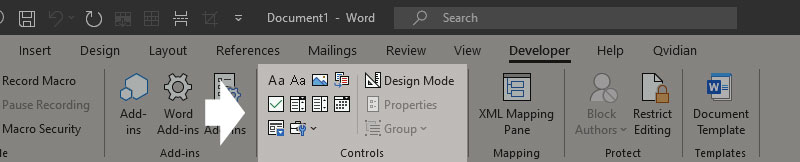
1. Enable Developer Tab. Open Microsoft Word, then go to the File Tab > Options > Customize Ribbon > check the Developer Tab in the right column > Click OK.
A developer tab will populate. The Controls section has about eight different options that can be added to your Word document: Rich Text, Plain-Text, Picture, Building Block Gallery, Checkbox, Combo Box, Drop-Down List, and Date Picker.
2. Insert a Control. Click on the control and it will appear wherever your cursor was located.
In the example below are two plain-text boxes inserted into a simple table for first name and last name.
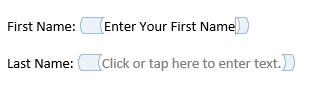
By default, each control has its own filler text. For a plain text control, it is ‘Click or tap here to enter text.’
3. Edit Filler Text. Customize the filler text for any control by clicking on Design Mode.
You’ll see blue placeholders appear around your place holder. Select the text and change it to whatever you like. Click on the
Design Mode button again to exit the mode.

4. Customize Content Controls. Highlight your new form field and then click on Properties, directly below the Design Mode button.
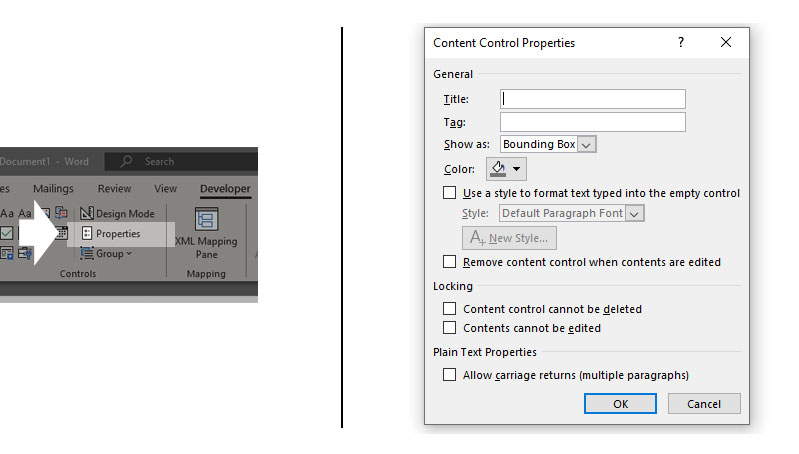
Here you can give the control a title, change the color, style the text and specify whether or not the control can be edited or deleted. At the very bottom are the control specific options, so if you have a plain text control set up, you can control how many lines you want to allow. That last option is useful if you need someone to type in a paragraph of text.
Conclusion
If you are involved in any type of design, it is inevitable that you will be using the MS Word at some point. One of the features that makes MS Word so popular is what are known as Forms. This is one of the most powerful features of Word because it allows you to create professional looking forms for variety of tasks.