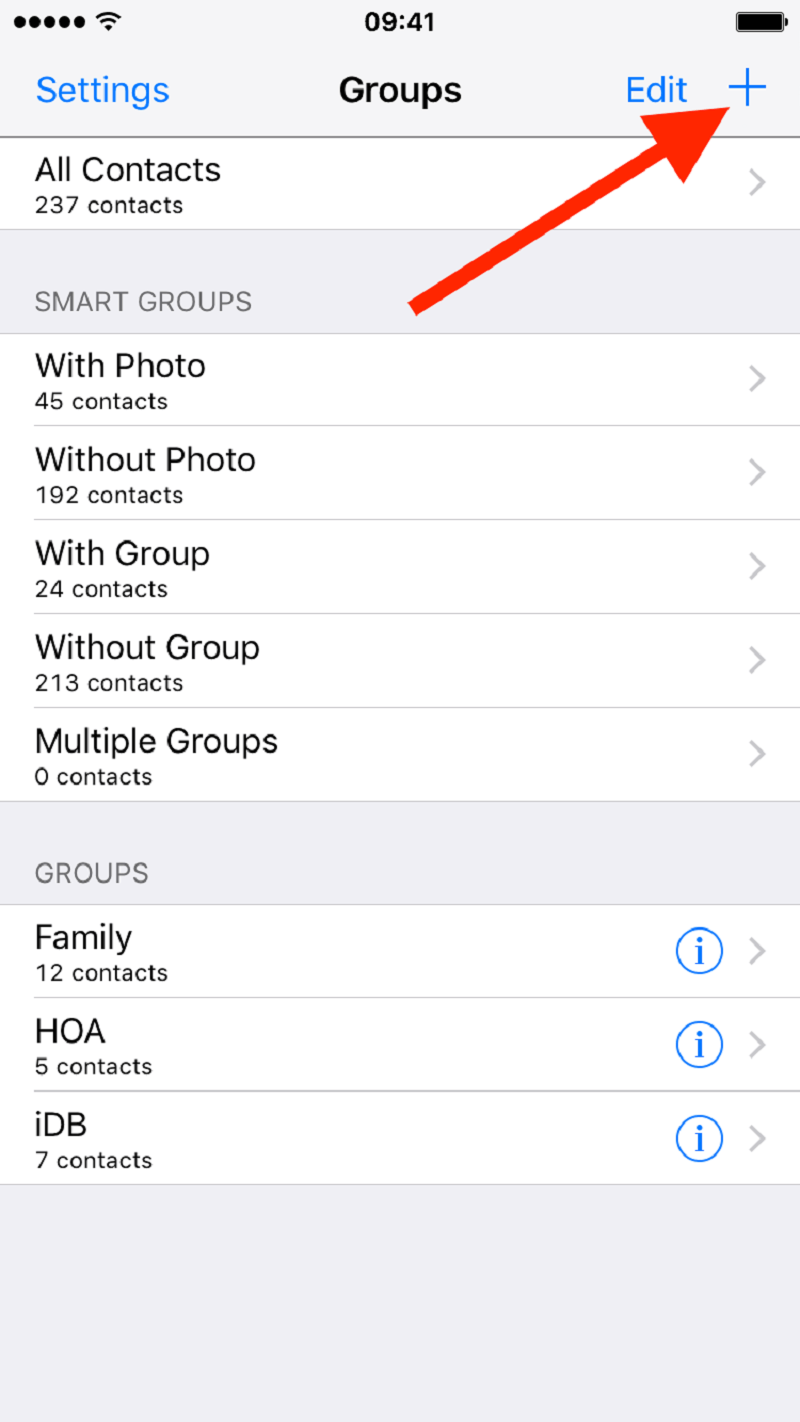
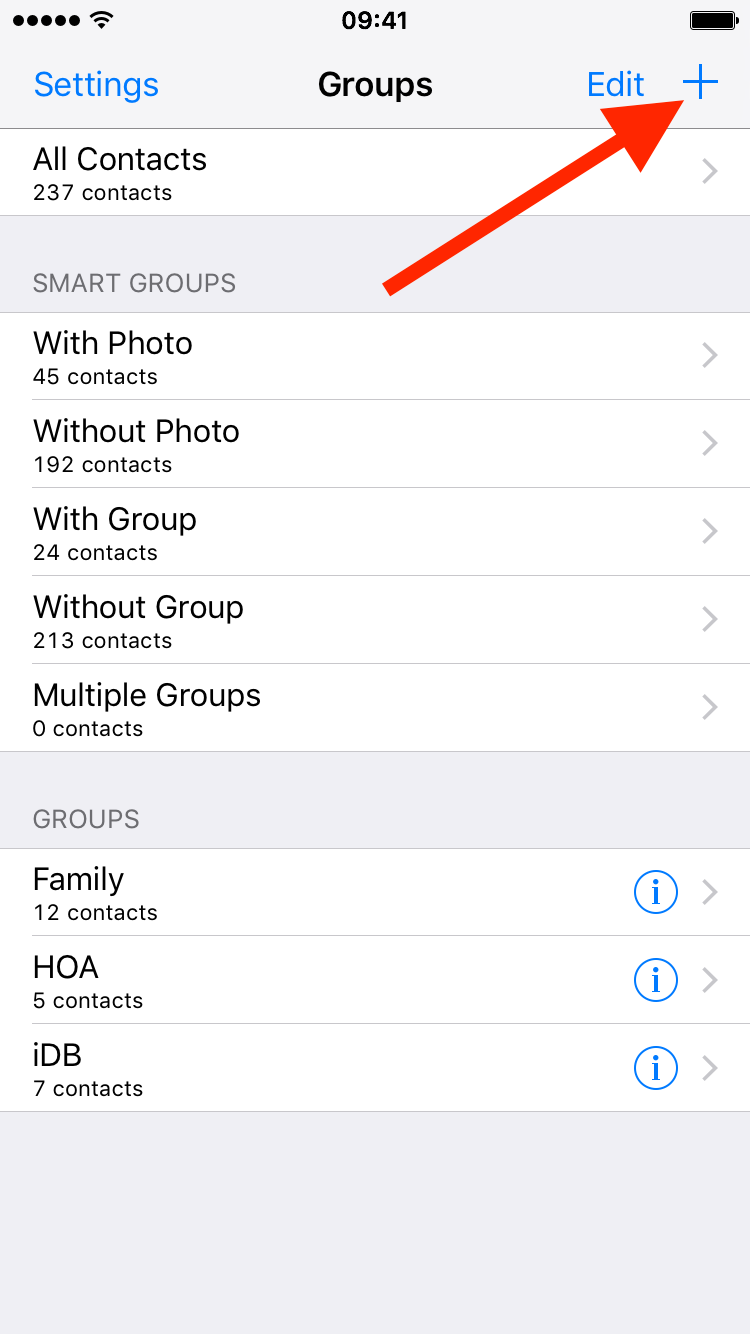
How to Create Groups on iPhone – If you just bought an iPhone and want to learn how create groups on you can look at this guide. You will be able to manage groups in iPhone contacts, create text distribution list on iphone and other interesting features of groups on iPhone…
Today we will tell you how to create a group on iPhone. A small but important detail about groups is that you can add multiple things at once, filling the box with names into which all that you intend to send texts or calls must enter. This is done to assure that all recipients are the same, something very useful in small companies, for example.
A contact group comes in handy when you want to send the same message to multiple contacts every time, especially if it’s a party invite or trip discussion. While iOS doesn’t allow to create a contact group directly, you can do so via iCloud or third-party applications, which are as easy as pie. Moreover, the people in your group can reach you even if your iPhone is in the “Do not disturb” mode.
Table of Contents
How to make contact groups on iPhone using iCloud
- Visit iCloud.Com on your Mac and sign in with your Apple ID.
- Next, select Contacts and tap on the “+” icon at the bottom left corner.

- Select the new group option.
- Next, name the group, and you’re ready.

Note: This process requires a strong internet connection.https://c1513b588ec8264ddaf5cb68da11d400.safeframe.googlesyndication.com/safeframe/1-0-38/html/container.htmlOnce you create the group, you can add all the contacts you want in that particular group. All you have to do is drag the contact from ‘All Contacts‘ and drop it in the new group you made.
You can delete the group or a specific contact easily. Here’s how;
Delete group or contact from iCloud
- Select the group or contact you wish to delete.
- Tap the Actions menu in the bottom left corner and select Delete from the menu.
- A menu will pop-up on your screen. Tap Delete to confirm the action.

Tip: You can also delete by selecting a particular contact or the contact group and clicking on the delete button from your Mac’s keyboard.https://c1513b588ec8264ddaf5cb68da11d400.safeframe.googlesyndication.com/safeframe/1-0-38/html/container.html
Use contact groups on the iPhone
- Check the group you made in the Phone app on iPhone
- Launch the Phone app on your iPhone and go to Contacts.
- Now, tap groups in the upper right corner.
- You will be able to see all the groups you created.

Note: iPhone’s messaging app doesn’t support groups. You can send a message to the group via email.
- Use it in the Mail app
Send an email to each person in the group in one go.
- Open the Mail app on your iPhone and create a new email.
- In the “To” section, type the group’s name. You will see the name of the group as a suggestion.
- Select that group, type the message, and hit send. The message will be delivered to everyone in the group via email.
Note: It is crucial to have the person’s email ID saved in his/her contact details. Otherwise, you can’t send an email to that person even if you have added him/her to the group.
- Use it for Do Not Disturb Mode on your iPhone
- Launch Settings and go to the ‘Do not disturb’ option.
- Here, you will see the contact groups you created in iCloud.
- Tap ‘Allow Calls From‘ and select the contact group.

Besides iCloud, you can also use third-party applications to create a contact group on the iPhone easily. One best app that comes to mind is Groups. It is available on the App Store for free (with in-app purchases).
How to create a contact group on iPhone using Groups app
- Open the Groups app on your iPhone.
- Tap ‘Add New Label’ to create a new group.
- Visit the New Group page and name your contact group.
- Tap ‘No Contacts — Add Some’ to start adding contacts.
Note – You can add or remove contacts by selecting ‘Manage‘ at the top right corner. - Tap Done.

You can also add new contacts directly using this app.
You’ve successfully created contact groups on iPhone!
Now, plan your party or trip with less stress. While I usually stick to iCloud for creating contact groups, third-party apps come in handy if you have don’t have Mac at your disposal.
If you are new to Apple, here are the articles you should look at to use your iPhone and iCloud more efficiently.
Tips Which You Should Know About Creating Groups On iPhone
Now that you understand how to properly create a group on your iPhone, the next dilemma is how to manage it. Here are a few of the easy and simple guide and tips on how to properly manage your just newly created group.
1. Sending an Email on Your Contract Group on iPhone
If in any case, you will not be able to send a message on your iPhone, sending email is the next option. As long as you are logged in with your email, this process is not worrisome. This can be easily done by the following step-by-step guide presented below:
- Step One. For those who do not have the Mail app on their iPhone yet, you should first download it. On the other hand, for those who already have it, launch the Mail app and compose a message.
- Step Two. In the To entry where you are going to input the name of contacts or recipient, type the name of the group.
- Step Three. After writing a few letters, the name of the group will pop up on your screen. Simply click on it if it appears this way. Then, enter your message and click the Send button.
2. Sending a Message on Your Contract Group on iPhone
For sending a message on your contact group, all you have to do is to go through your messaging app. This is the most preferred way because aside from it is the easiest, it is also the most convenient way. If you have no idea how to do it, this is how you do it:
- Step One. Open the iMessage app on your iPhone and tap the button that indicates to compose a message.
- Step Two. Tap the To button and enter the group name which you desire to send message to.
- Step Three. Enter your text message and hit the Send button afterward. The chat will be accessible for future messaging usage and references unless you opt to delete it.

3. Managing Contacts on Your iPhone
Group chats often contain crucial and confidential messages and information. Thus, backing up your data is also an essential thing to consider. You can back up your data with the use of iCloud. This is how you properly do it:
- Step One. Go to the iCloud and log in to your user account.
- Step Two. Look for the Storage and Backup option you can found on the menu bar. As soon as you found it, click the Backup or iCloud Backup icon and turn the bar on.
- Step Three. Then, click the Back Up Now and wait for a few minutes.
Conclusion
Creating groups on iPhone has become a lot easier. You can create a group and add people to it very easily. This way, every message to the group will go to all the people you added to it.
