How to remove watermark from Word. Word Watermark is a kind of a text or a picture which can be added in a document to identify the owner. This is done through inserting a text or an image in the document, and this watermark will appear on all copies of the document. It is very easy to add a watermark in the document, but it’s not that easy to remove watermark from word. This article will show you how to remove the watermark from your Microsoft Word document.
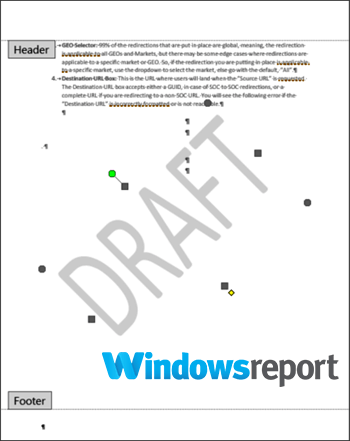
Watermarks help users of Microsoft Word make certain attributes in the document super clear to readers. For example, you can use it to let colleagues know that your Word document is a draft. Or even confidential to mention but a few. But at some point, you no longer need the watermark and desire to delete it only to encounter a resolute watermark that won’t budge despite following the correct procedure. And so you’re left feeling helpless that you can’t remove watermarked words. Now, this article is for you if you have been facing this problem. Let’s go directly to seeing how you can remove a stubborn watermark.
Table of Contents
Solutions To Remove Watermark in Word?
Here is what to do to get a clean document.
Fix 1: Recommended Method
- Open the concerned document.
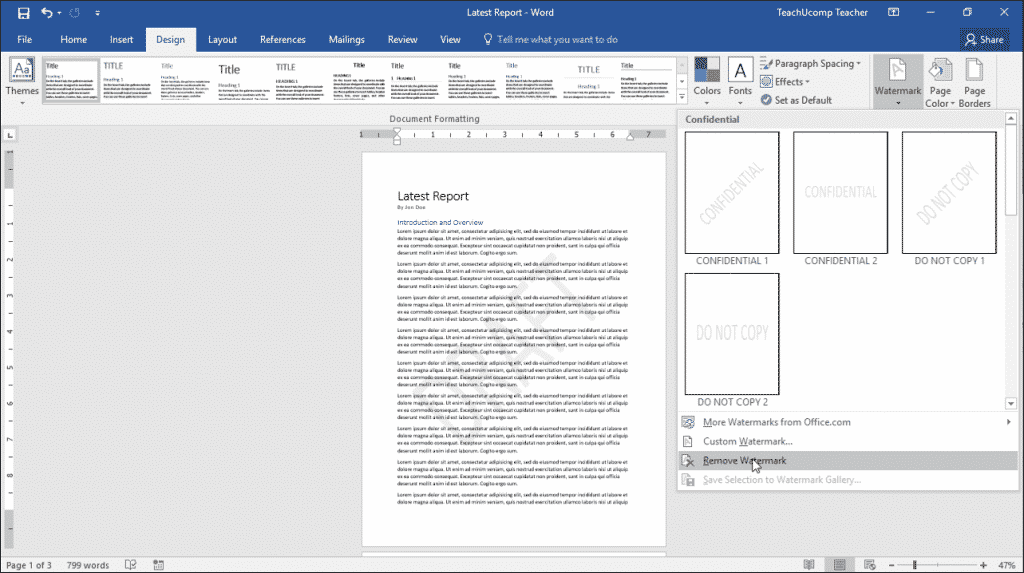
- For latest Word editions, Select the Design tab (click the Page Layout tab For Word 2010 and Word 2007).
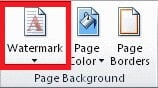
- Locate the Page Background tab and select Watermark.
- Select Remove Watermark.
- Your document should no longer display the watermark.
But occasionally the Watermark is unshaken by these steps so you can attempt these alternative solutions:
Another proven fix involves working from the footer section.
Steps:
- Access the Footer section, again by Double-clicking it.
- Select the watermark.
- Press Delete.
- Do this for every section in your document.
Fix 3: Save The Document As in The XML Format
XML (eXtensible Markup Language) is another markup language pretty similar to HTML. Importantly, storing a Word document in XML converts it to plain text.
And so you can try to save the document as an XML file if after executing the above solutions the watermark won’t still delete.
Steps:
- Click on the File
- Click Save As.
- Choose a preferred file location, like This PC to save your file.
- Type a suitable name in the provided File name
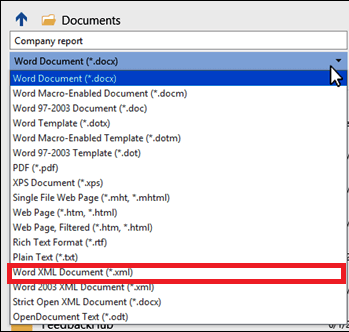
- Now click on Save as type and from the list, click Word XML.
- Click Save.
Next, you will need to edit the file and in Notepad.
Steps:
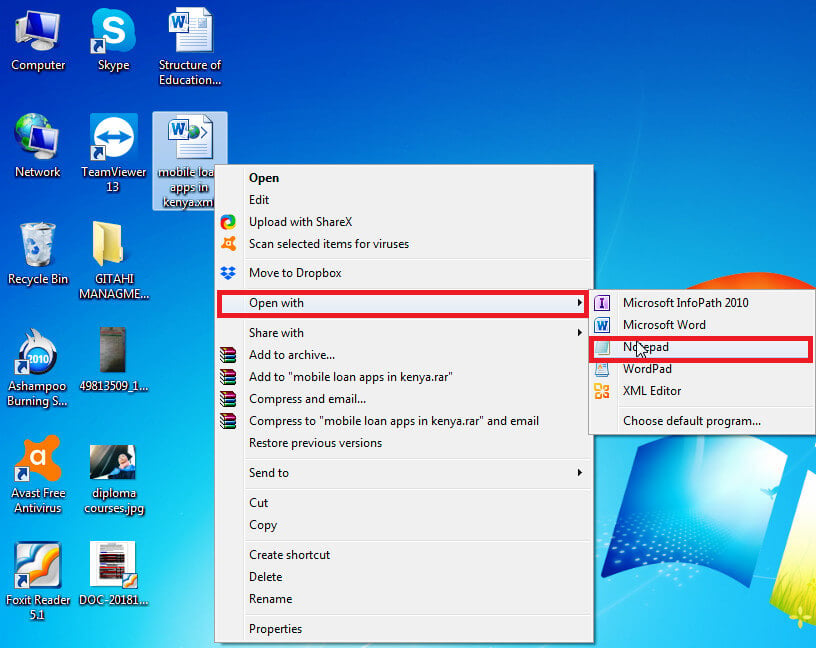
- Navigate to where you saved the Word document and Right Click then choose Open with Notepad.
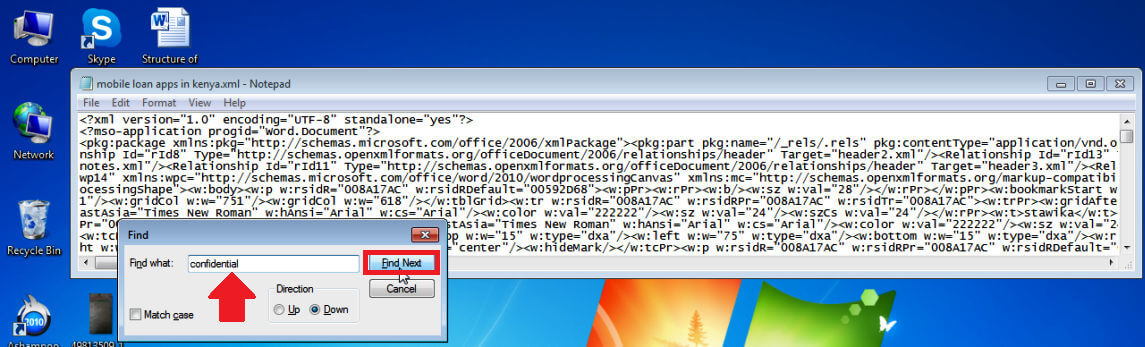
- Find the watermark phrase by simultaneously pressing CTRL+F keys on the keyboard. For example, type Confidential (if that’s the Watermark wording) then place next.
- Delete the word/phrase without deleting the quotation marks.
- Search and deleting again until all occurrences are gone.
- Save the changes (Click on save button).
- Reopen the document but this time with Word.
- Finally, Save it as a Word document.
Fix 4: Working From The Header Section
In some of the recent versions of Word including Office 365, Word 2016, and Word 2019, watermarks are anchored in the header section. This means that you have to access the header area to erase a watermark.
Steps:
Repeat this process if your Word document consists of multiple unlinked sections to remove all instances of Watermarks in such files.
Here are alternative steps to help remove resilient watermarks from header watermarks.
- Access the document’s header by double-clicking it.
- Go to Home tab then expand Word’s Select drop down located on the extreme right.
- Choose Select Objects. Your mouse cursor becomes an arrow head making it easier to select various items.
- Click on the watermark in the Header Area then press Delete.
You may be forced to scroll through the entire document to reach the Header of each Watermarked Section and delete every instance one by one especially for long documents.
Fix 5: The 4-way arrow
The 4-way arrow replaces the Select Object arrow and is also helpful in nearly all the latest Word releases including Word online .
Steps:
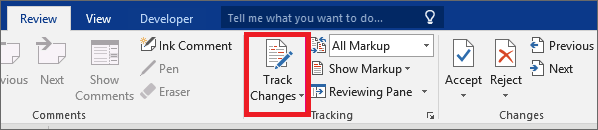
- Turn off changes Tracking in Word.
Here is How:
- Click Review then press Track Changes.
- Lastly, permanently eliminate any markup in the document by accepting or rejecting changes and deleting any comments.
Click Review then Next. Now choose Accept or Reject.
- Open a section’s header by double-clicking inside the area.
- Move the cursor over a few of the letters making up the Watermark until it changes into a 4-way arrow.
- Select the watermark (just Click).
- Press Delete.
- Do this for all other sections with a dogged watermark.
You can as well use the backspace in place of the delete button.
A watermark won’t go occasionally if your Word document becomes corrupted as a result of saving the recovered copy afresh perhaps after an abrupt Word crash.
This is because of issues that emanate from the subsequent encoding.
Note that method works like a charm for users of MS Word 2007 and Word 2010.
Steps:
- Open your document the normal way.
- Ensure the cursor is positioned in the Header area/section that has the watermark.
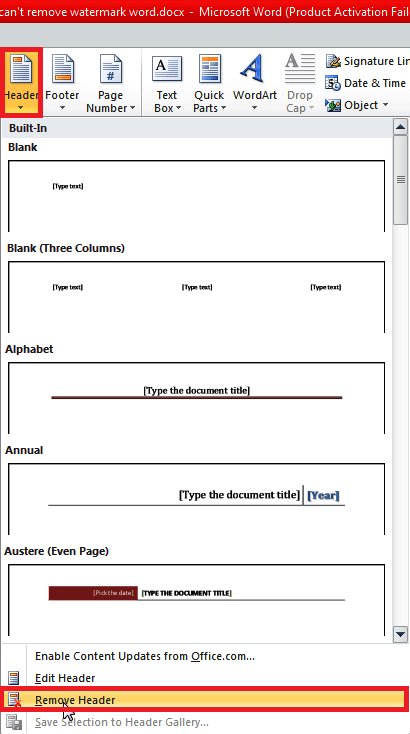
- Now navigate to Insert and choose Header.
- Select Remove Header.
This should solve the issue. You can again retry by removing the footer if it doesn’t.
Steps:
- Open your document.
- Place the cursor in the footer area (or section with the watermark).
- Go to Insert the Footer.
- Select Remove Footer.
You may now rebuild the header/footer if necessary and it should function without the watermark problem recurring-provided you don’t copy the original Header/footer from the corrupted versions of your document.
Can’t Remove Watermark Word Even After All This?
A Microsoft Word document may show a red mark (X) when you attempt to clear a watermark so it totally refuses to do away with the watermark.
This is quite common for documents where the author used a custom Watermark. Well, the answer to this problem is not very different from the steps of deleting the usual watermarks.
Steps:
- Open the header area of the page displaying the watermark.
- Select the watermark by clicking it.
- Press Delete/ backspace or even Right-click and choose Cut.
- Voila! The mark should be gone!
Can I Remove The Watermark In Word on The First Page Only?
You may want to now and then remove a watermark on only the first page of your document.
Now, this is possible but there is a rider: You (or the owner of the document) must have enabled the “Different first page” option for the headers and footers after adding the watermark.
In a majority of cases, the watermark will be hidden from the First Page Header completely when this choice is activated.
All the same, you can still easily unpublish it by applying the previously explained steps if for some reason it still shows up.
Conclusion
Word watermarking is a very effective way of preventing illegal copying our important documents. But we may sometime want to remove that watermark for obvious personal reasons. It sounds like an easy job because you can simply print your document and then delete the watermark using Ms paint program onboard your system. But unfortunately, it will not work.