Hey there, to all Robloxians out there! It seems that you all are getting to know more and more about the awesome game. If you want to know the ins and outs of it, I’m sure you want to learn about How To Create A Shirt In Roblox? This is a very helpful guide to those who wish to gain experience in this awesome game. Check out how to create shirt templates in roblox games.
Calling the Roblox community as the universe of gaming won’t be an exaggeration. There are hundreds of different things that you can do using this single platform. Roblox users can not only play games but can also create games of their own. Moreover, designing apparel for your avatar is also possible. Yes! you heard that right. You can create classic shirts, pants, and T-shirts for your avatar on Roblox and make yourself stand completely out of the crowd.
Now you must be thinking that making a shirt or any other apparel just to play games doesn’t seem to be that much worthy of time. Well, this is not the case. After you design an amazing shirt, you can even sell and earn real cash from it. So without killing any more time, let’s take a step and learn how to make a shirt on Roblox.
Table of Contents
Part 1: Creating the Shirt
- Make sure that you have a subscription. If you aren’t a paying member of the Premium subscription, you can’t upload your shirt template. To become a member of Premium,:
- Go to https://www.roblox.com/premium/membership?ctx=preroll
- Scroll down to the different plans on Premium and choose one of the 3 plans.
- Select a payment method.
- Click Continue
- Enter your payment details.
- Click Submit Order
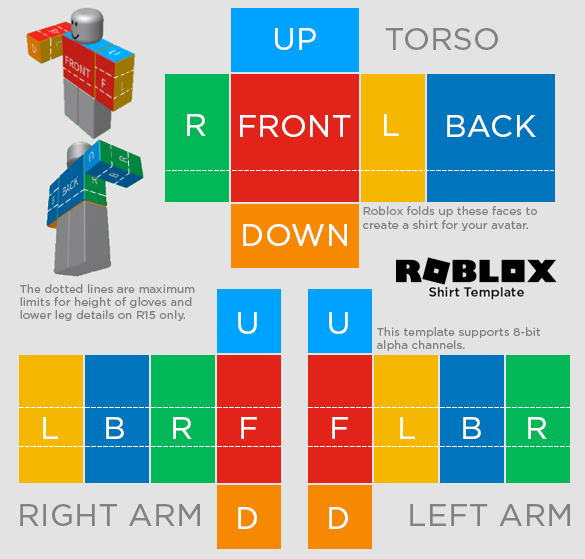
- Open the Roblox shirt template page. Go to https://static.rbxcdn.com/images/Template-Shirts-R15_07262019.png in your browser.
- Save the shirt template onto your computer. Right-click the template, click Save image as… (or Save as…) in the resulting drop-down menu, select a save location (e.g., your desktop), and click Save.
- If, your computer’s mouse, doesn’t have a right mouse button, click the right side of the mouse or use two fingers to click (or tap the trackpad) instead of right-clicking.
- Open a photo-editing program. Depending on your preferences and your operating system, you may have several different photo-editing software options:
- If you use Windows, you have Microsoft Paint installed by default. You can also download other programs like Paint.NET, which is a free program also available for Mac users.
- If you use a Mac, you can download Pinta for free, or you can pay for something like Photoshop or Lightroom.
- GIMP 2 is a good free option for both Windows and Mac users.
- Open the template in your program. Click and drag the template into your photo-editing program—or click File, click Open, and double-click the template—to open it in your program.
- Edit the template. Depending on your preferences for your shirt, this step will vary; for example, if you want to place a logo on your shirt’s torso, you might use the photo-editing software’s pen tool to draw on the chest section of the template.
- Save your shirt. Press Ctrl+S (Windows) or ⌘ Command+S (Mac) to save the changes to your template, or click File and then click Save.
Part 2: Uploading the Shirt
- Open the Roblox main page. Go to https://www.roblox.com/games in your browser.
- Click the Create tab. It’s on the upper-left side of the page.
- Click Continue to Create page if prompted. If this is your first time opening the Create tab, click the blue Continue to Create page link in the pop-up window.
- Skip this step if you go straight to the Create page.
- If you aren’t logged into Roblox, you’ll need to enter your username and password and then click Sign In before you can continue.
- Click Shirts. This option is near the bottom of the “My Creations” list of items.
- You may first need to click My Creations at the top of the page to open this list.
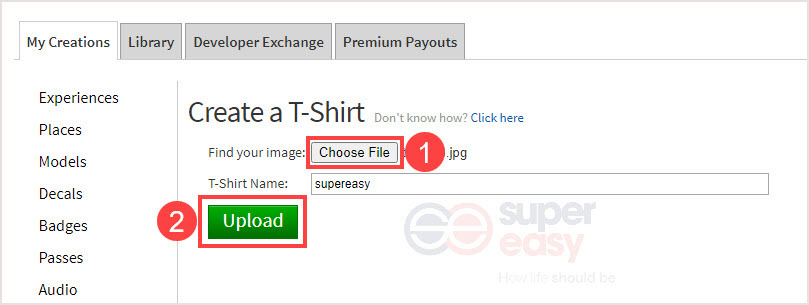
- Click Browse. It’s a grey button near the top of the “Create a Shirt” page. A window will open.
- Select your shirt image. Find the PNG template image in the folder where you saved it (e.g., Desktop) and click it.
- Click Open. It’s in the bottom-right corner of the window.
- Enter a name for your shirt. In the “Shirt Name” text field, type in the name of your shirt. This is how it will appear in the web store and on your profile.
- Click Upload. It’s a green button below the “Shirt Name” text field. Doing so will upload your shirt to your Roblox profile, from which point you can equip or sell it as you please.
How to make a Roblox T-shirt
The easiest design for clothing is T-shirt, it’s uploaded for free and only needs an image that is applied to the front of an avatar’s torso. We recommend beginners to start with a T-shirt.
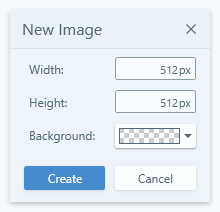
Please note, the image you’ve designed for the T-shirt will only be seen on your avatar’s front. The ideal image size is 512×512 pixels.
I use Snagit to create designs.
Once you’ve created a satisfying image, save it and upload it to Roblox.
After uploaded the T-shirt, it takes about 20 minutes for it to be approved by Roblox.
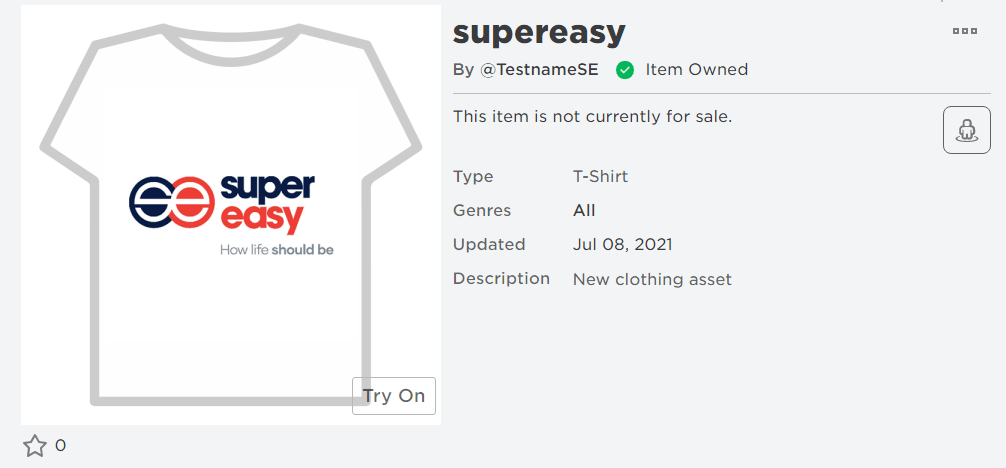
You can change its name, genres and add a description by clicking the gear button to the right of the item and click Configure.
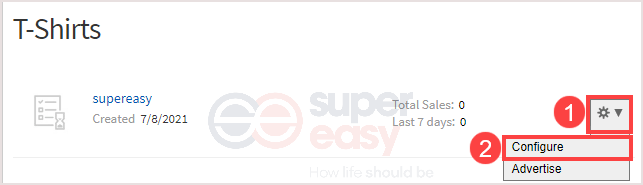
If you have a membership and want to sell your T-shirt, on the configure page, select Sales and turn on the Item for Sale button.
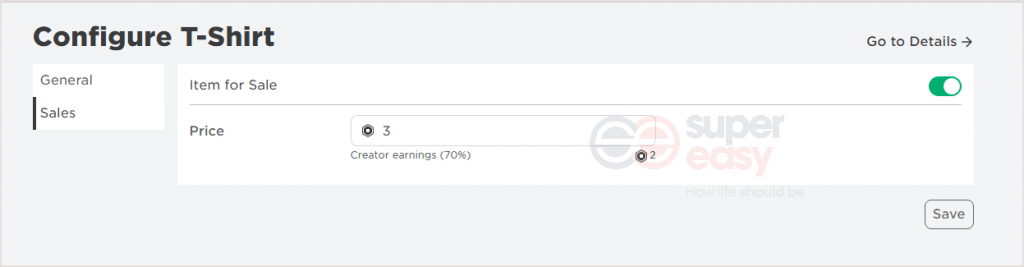
Then you’re able to set the price and sell your T-shirt.
Selling your shirt on Roblox
Once you’re good enough, you can sell your creations for Robux. This can make you a little spending money for the game. You will need Builder’s Club membership to sell stuff though.
- Select your shirt from within your Create window.
- Select the cog icon in the top right to access Settings.
- Select Configure and check the Sell This Item checkbox.
- Select the Robux checkbox and enter the amount.
- Select Save to place it for sale.
Before randomly placing your shirt for sale, it makes sense to look at what other shirts are on sale and for what price. Just like in the real world, you need to offer something unique and price it competitively against other shirts. Price it too high and people just won’t buy it. Price it too low and you’re not making as many Robux as you could.
The same principles will apply for pants, shoes, hats or whatever you create in Roblox. You use a 2D template to create a 3D model. Once you get used to visualizing your design in three dimensions, the rest is easy!
Conclusion
Every gamer in the world knows about Roblox. It is a highly popular game that millions of players are in at any moment. You can explore places, build your own, or just have fun with your friends. It is also one of the most famous games when it comes to creativity, since you have the chance to create almost anything you want in it.